
Why a few millimetres matter on kitchen spares
When a commercial oven, fryer or dishwasher goes down, the pressure is usually on to get the right part quickly. That is where proper measurements save time. A seal that is 5 mm too narrow will not close properly, and an element with the wrong length or flange spacing can leave you with a return, more downtime and another visit from the technician.
In South African kitchens, parts are often replaced after years of heat, steam, grease and cleaning chemicals have done their work. A gasket may have stretched, a thermostat probe may have bent slightly, or a switch body may be cracked but still mounted. If you measure carelessly, you may order by eye and end up guessing. It is better to measure the old part, the fitting point, and where needed the space around it. That gives you a proper basis for matching the replacement.
At FoodServ Parts Store we often see the same issue in Midrand, Johannesburg and Pretoria kitchens: the customer knows the appliance model is old, but the exact part number is faded or missing. The measurements then become the most reliable guide. With the right figures, you can match seals, handles, heaters and switches with far less back and forth.
What to measure before you place an order
Start with the part itself, then check the appliance opening or fixing point. For many spares, you need more than one measurement. A gasket may need the outer length, inner opening, corner style and join position. A heating element may need overall length, active length, terminal type and mounting centres. A switch can need body size, shaft length and the way the terminals sit at the rear.
- Measure in millimetres for all small parts and fittings.
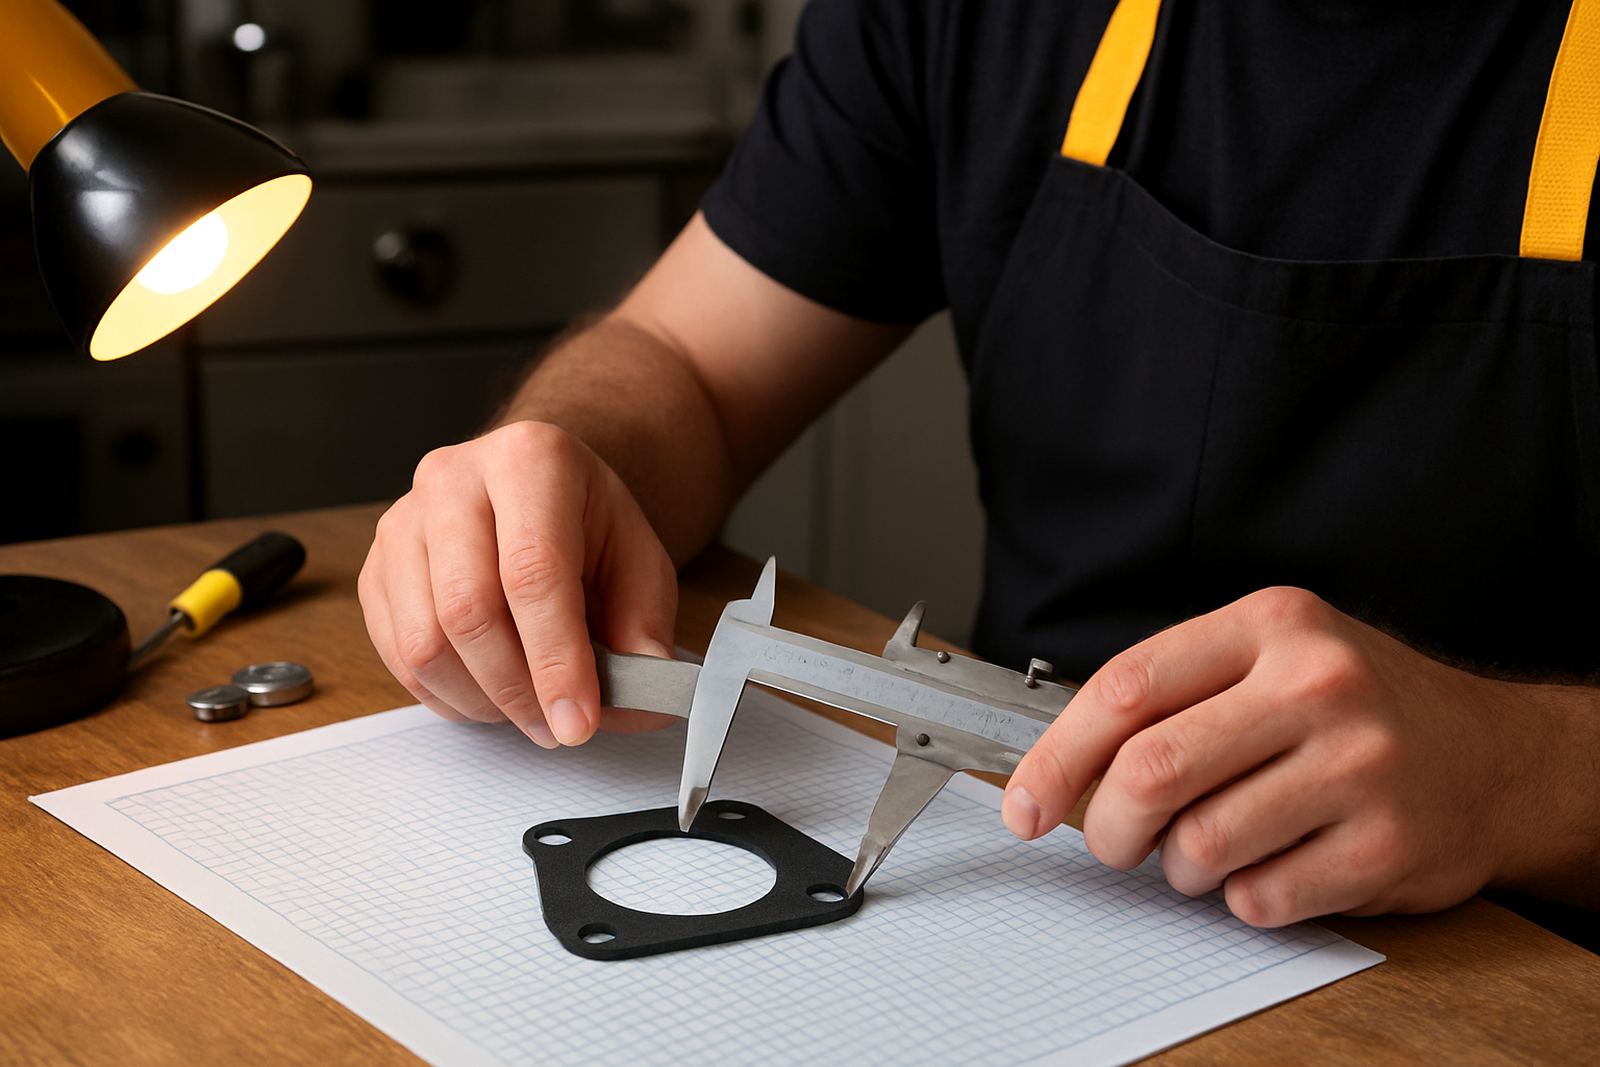
- Use a steel tape or ruler for straight lengths, and callipers for smaller items if you have them.
- Check both sides of a worn part, because heat can warp one side more than the other.
- Write down the measurement as taken, then confirm whether it is the part size or the opening size.
- Take a clear photo of the part beside a ruler, especially for gaskets, handles and switch panels.
If a part has studs, lugs or terminals, measure from centre to centre rather than edge to edge. That gives a better fit. Also, if a handle or knob has a threaded fixing, note the thread size and depth because the outside dimension alone will not tell the full story.
How to read seals and gaskets without guessing
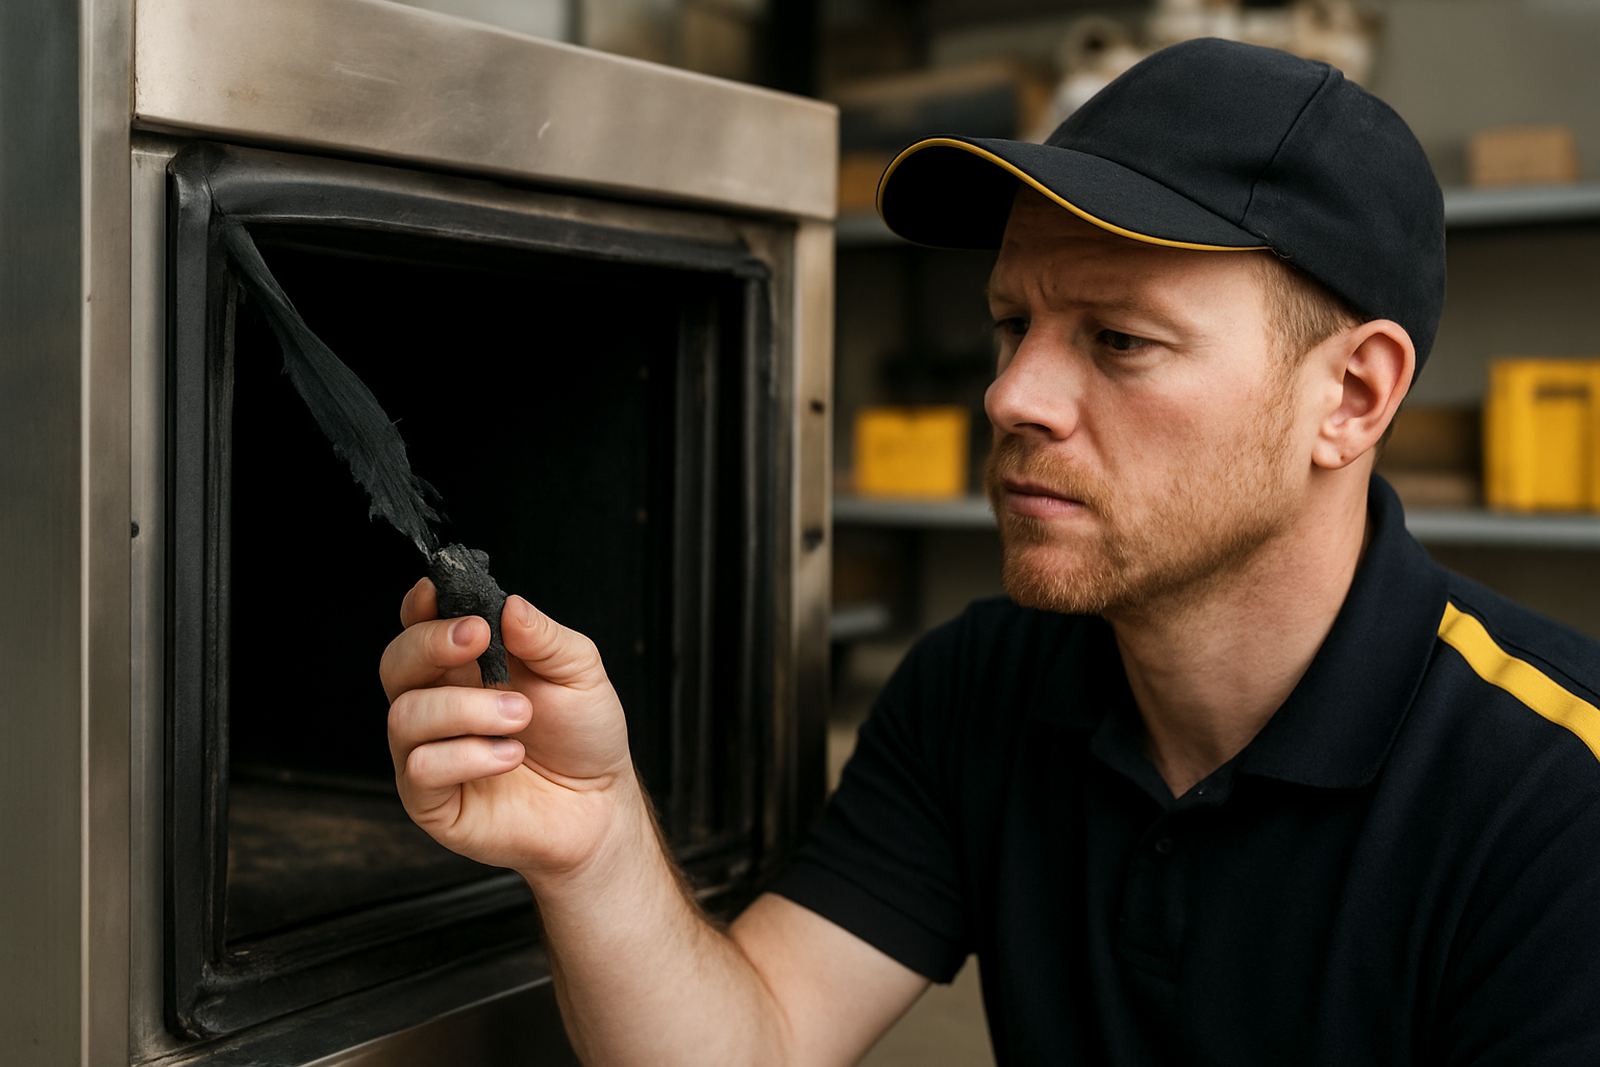
Seals and gaskets are some of the easiest parts to measure badly because they flex. A stretched oven door gasket may look longer than it really is, and a flattened dishwasher seal may appear shorter after years of use. The best way is to lay the seal flat without pulling it tight. Then measure the total length, the profile shape and any corners or joins. If the seal has a hollow section, lip, or magnetic insert, record that too.
Door seals also depend on how they sit in the channel. Some push into a groove, while others clip over a flange. If you only measure the length and ignore the profile, you may get a seal that is close in size but wrong at the fitting point. That can lead to leaks, heat loss and poor washing results.
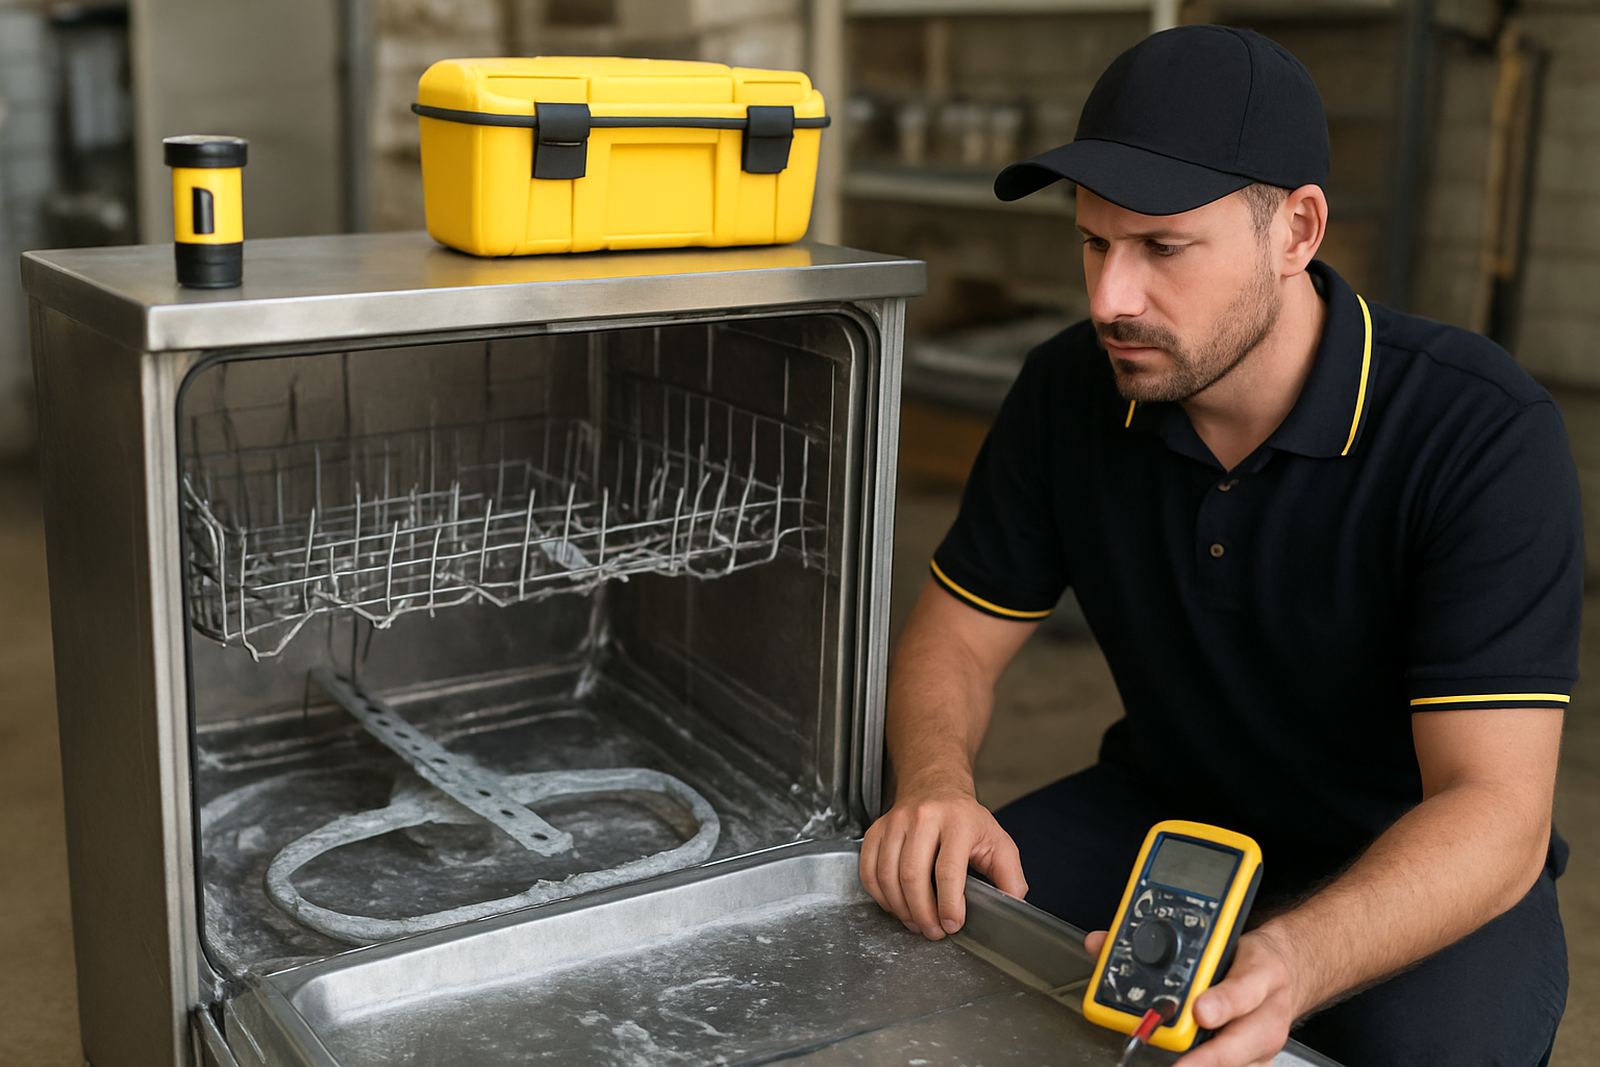
For dishwasher door seals in coastal areas like Durban or Cape Town, moisture and detergent can cause swelling or hardening. In those cases, a seal that has been in service for years may not reflect its original size. Compare the old piece with the channel itself, and if possible note the appliance model and the depth of the groove. That extra step usually prevents a second order.
Elements, burners and thermostats need different measurements
Heating parts are not measured the same way as seals. Elements need the overall shape, wattage, mounting style and terminal layout. On an oven element, the bend profile and the spacing between fixings matter just as much as the total length. A fryer element may sit differently in the tank, so the distance from the mounting plate to the heated section must be checked carefully.
Burners also need a practical check. Measure the diameter or width, the position of the gas inlet, and the fixing points. If the burner has a venturi or air adjustment section, include that in your notes. A burner that is a few millimetres out can affect flame pattern and cooking performance, so it is worth taking time here.
Thermostats need the probe length, bulb size, capillary route and mounting method. Do not cut a capillary tube to make it fit. If the replacement needs a longer route or a different bracket, that should be known before the part goes out. A thermostat that is fitted badly may cycle too late or too soon, and that can be just as costly as a dead element.
- For elements, record wattage and voltage if the old part label is still readable.
- For burners, note whether the gas connection is side entry or rear entry.
- For thermostats, measure the probe from the base to the tip, not just the visible length.
- For switches, check the number of positions and the terminal layout as well as the physical size.
A Midrand example from the warehouse floor
A catering operator from Centurion recently called about an oven that was not heating evenly. The first message said the element was needed urgently, but there was no part number and the old one had already been discarded. The only clue was a photo of the cavity and a rough note on length. Rather than guessing, we asked for the distance between fixing points, the terminal style and the cavity depth. That gave enough information to narrow it down properly.
Once the correct element was identified, the fit was checked before dispatch from Midrand. The customer installed it, but the original issue was not the element alone, it was a loose terminal on the switch panel as well. Because the measurements had been taken properly, the follow-up part could be matched quickly and the oven was back in service without another full strip-down. In a busy kitchen, that saves real time and a lot of frustration.
This is common with older equipment used in school kitchens, guest houses and takeaway shops. Parts have been changed over the years, labels are faded, and one appliance may carry several minor variations. Good measurements cut through that. It is slower for ten minutes and faster for the whole job, which is the point.
Common mistakes that lead to the wrong part
Most part mix-ups come from small slips rather than bad luck. Someone measures the outside edge instead of the fixing centre. Someone else measures a stretched gasket. Another person sends only a model number that has already been changed twice by the factory. These errors are common, especially when a kitchen is busy and the equipment has to be sorted between service runs.
Watch out for these mistakes:
- Measuring the worn part without checking the fitting point.
- Using inches on one note and millimetres on another.
- Ignoring terminal layout on switches and elements.
- Forgetting to check left hand and right hand orientation.
- Rounding up a size instead of writing the exact figure.
Also, do not force a part to fit because it is close. A gasket that is slightly oversized may buckle and leak, while a thermostat probe that sits in the wrong position can give poor temperature control. If you are unsure, keep the old part nearby, take clear photos and compare the measurements before you place the order. That small habit saves a lot of call-backs.
Send the right details first time
The best order is the one that starts with clear information. When you send measurements, photos and any appliance notes together, it is much easier to check compatibility before dispatch. That matters for commercial kitchens across Johannesburg, Pretoria, Durban, Cape Town and smaller towns where time on site is limited and repeat visits cost money. It also helps with load-shedding planning, because you want the repair done once the power is back and the part is ready.
If you are measuring a seal, element, burner, thermostat or switch, keep it simple: measure carefully, write the figures clearly and include the appliance type. If the part is already removed, place it next to a ruler and take a straight photo. If it is still fitted, measure the opening and the fixing points as well. The more exact the numbers, the better the match.
Good measurements do not need special equipment, just a careful hand and a bit of patience. That is usually enough to avoid the wrong part, and in a working kitchen, that counts for plenty.