
Why this small sensor matters on gas equipment
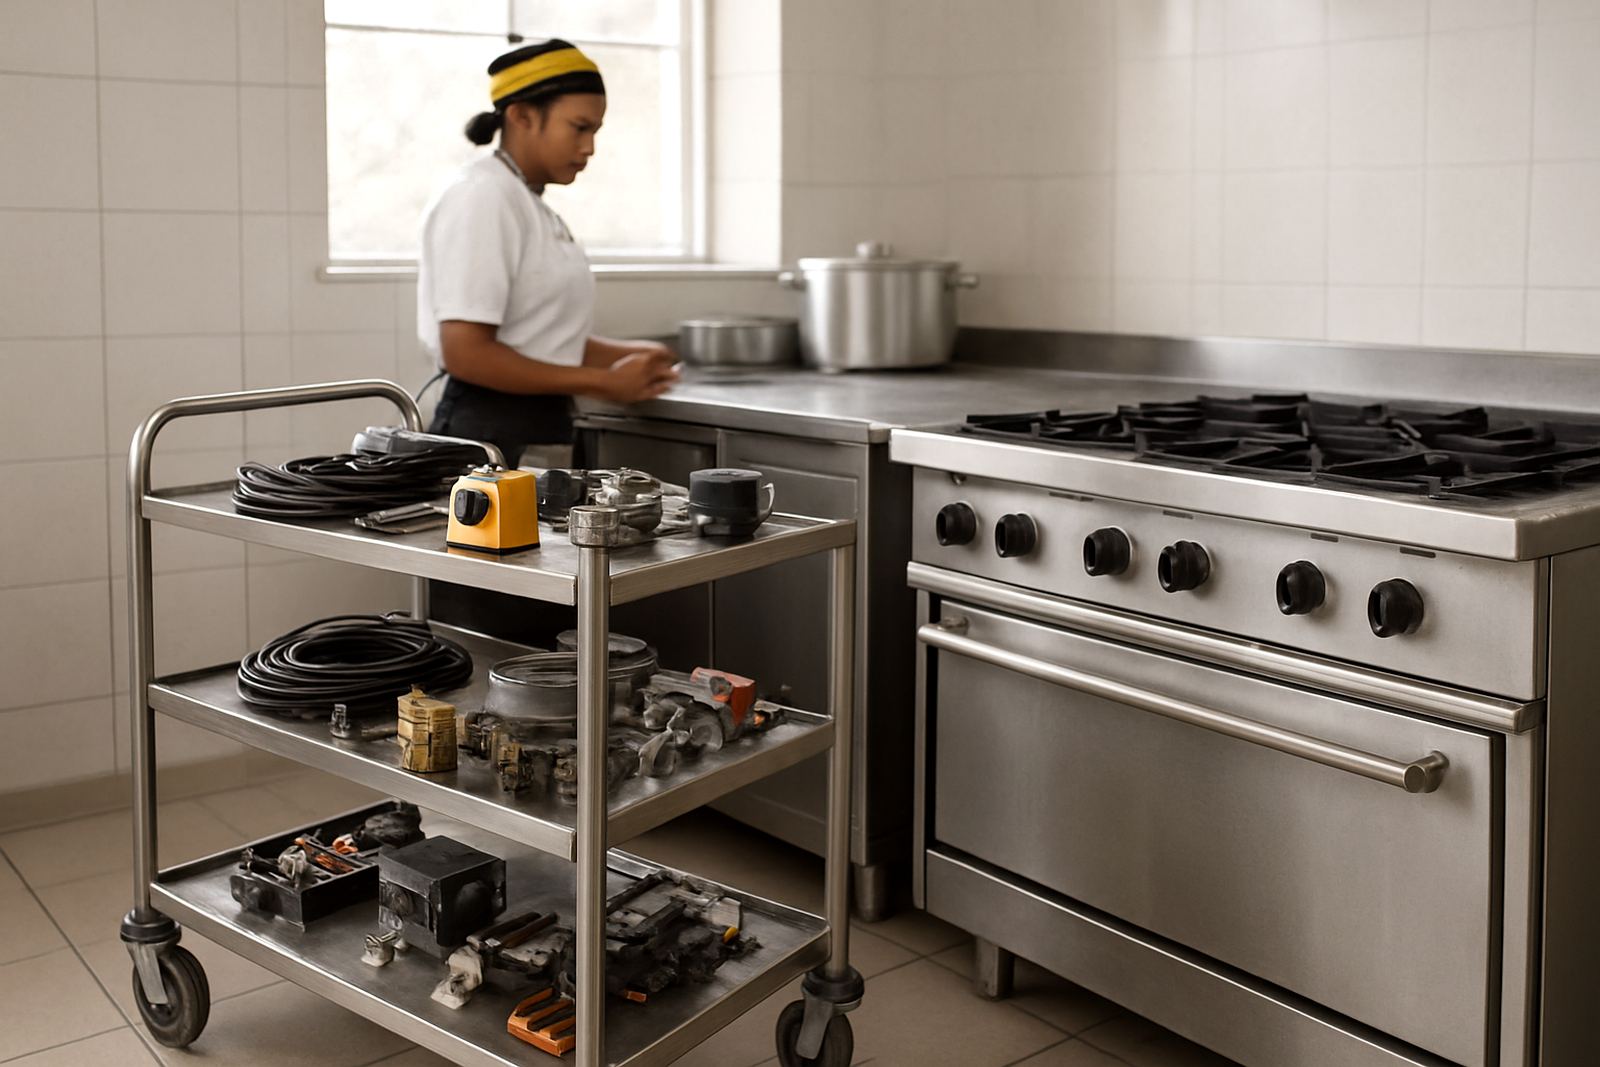
In a commercial kitchen, a thermocouple does one job: it confirms that a flame is present so gas can keep flowing safely. If the sensor is weak, dirty or badly positioned, the pilot may light but the burner will not hold. That can stop an oven mid-service, cut heat on a fryer, or leave a dishwashing unit waiting on ignition when the breakfast rush is already on.
In South African kitchens we often see the same pattern after months of heat, steam and heavy cleaning. Coastal humidity in places like Durban can speed up corrosion, while dust and grease in inland sites around Johannesburg or Pretoria can build up on the sensor tip. It is a small part, but when it starts acting up, the whole shift feels it.
Signs a thermocouple may be failing
Before you order a new part, look at the way the appliance is behaving. A thermocouple problem usually shows up in a few familiar ways. The flame may light and go out after a few seconds, or you may have to keep the control held in longer than normal before the burner stays on. In some cases the unit starts on and off, which can be mistaken for a thermostat issue.
- Pilot flame will not stay lit after releasing the control
- Burner cuts out when the unit reaches operating temperature
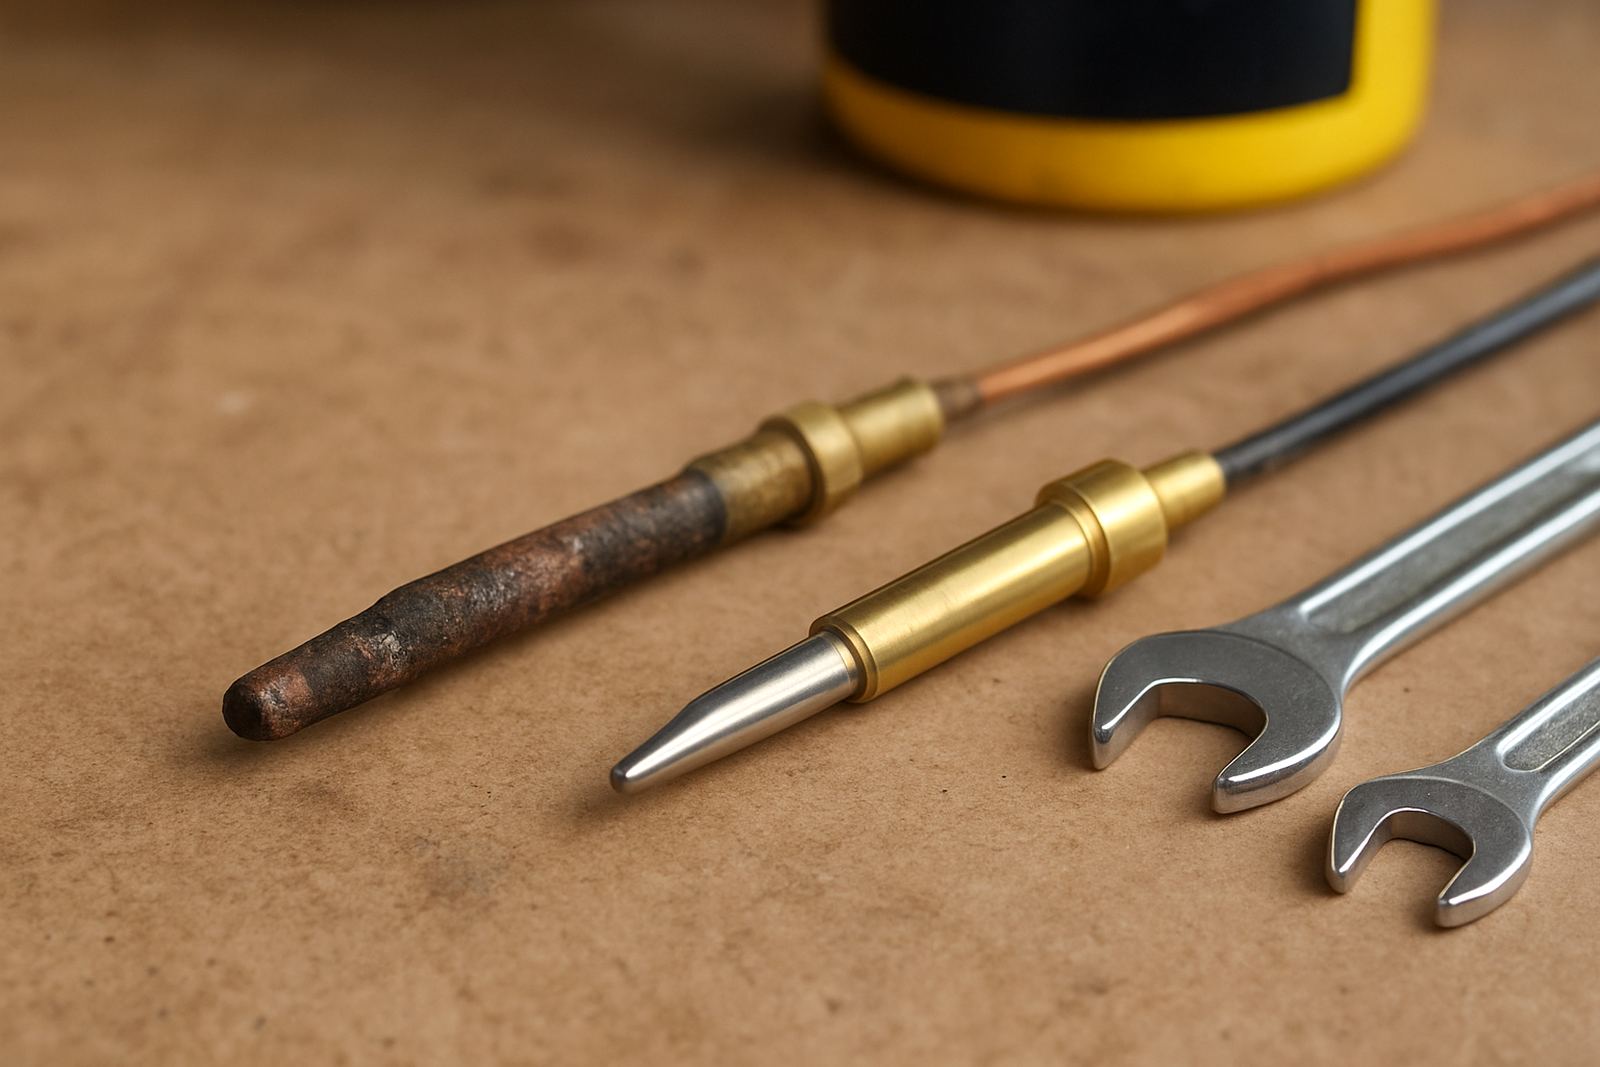
- Visible corrosion or black deposits on the sensor tip
- Loose, bent or damaged connection at the valve end
- Intermittent heating after vibration, cleaning or movement
If more than one of these signs is present, the sensor deserves a proper check. But dont assume every flame failure is the thermocouple. A dirty pilot, weak gas pressure, worn valve or cracked lead can also cause trouble.
A practical inspection routine you can do first
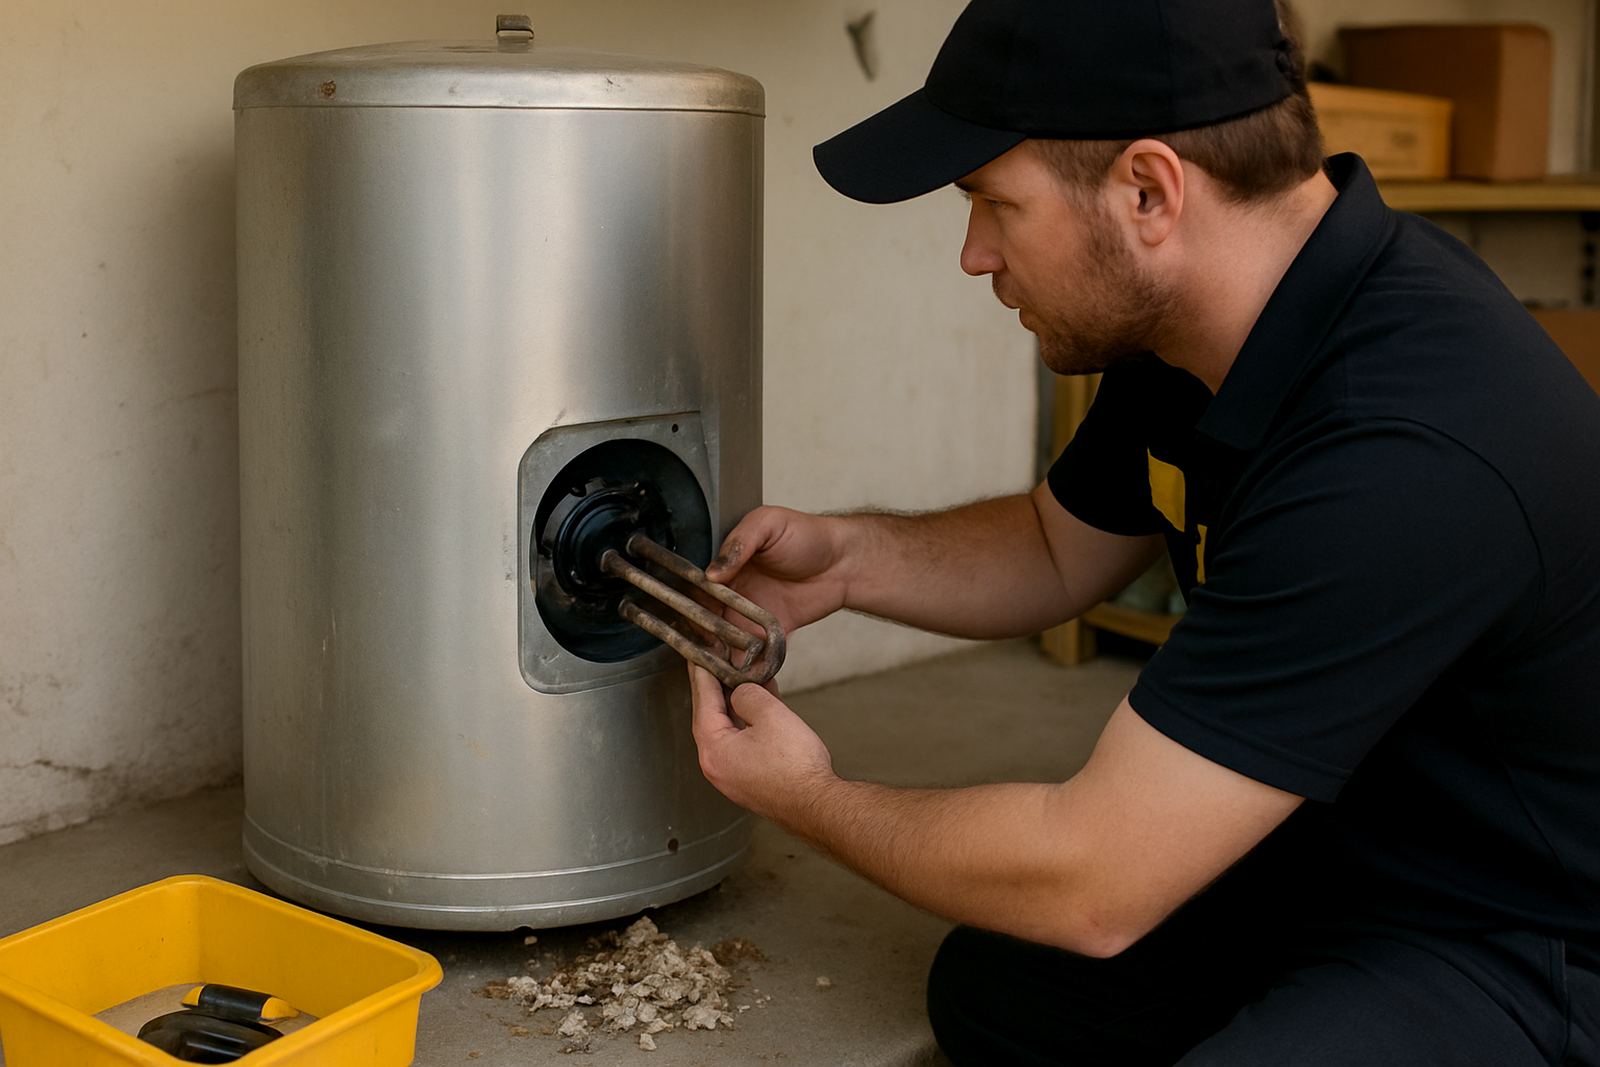
Start with safety. Switch off the gas supply and let the appliance cool fully. Remove access panels only if you have the correct tools and are allowed to open the unit. If you are unsure, stop there and book a qualified fitter. A quick visual inspection can still tell you a lot.
Follow this basic sequence:
- Check that the sensor tip sits in the flame path, not too far in or too far out
- Look for soot, rust, grease or white powdery corrosion on the tip and bracket
- Trace the lead for kinks, heat damage or loose fittings
- Make sure the connection point at the valve is clean and firm
- Inspect nearby wiring and switches for signs of heat stress
If the sensor is covered in carbon or grease, clean it gently with a soft cloth and a suitable non-abrasive cleaner. Do not sand the tip hard or bend the probe unless the manufacturer calls for it. A sensor that has been overheated or physically damaged may still test poorly even after cleaning.
Simple test methods that separate sensor faults from gas faults
Once the visual check is done, a basic test can help narrow the problem. On many appliances, a healthy thermocouple generates enough signal to keep the safety valve open once heated by the pilot flame. If the signal is weak, the valve closes. A technician can measure the output with the correct meter and compare it to the appliance specification. That is the most reliable check.
There are also practical field clues. If the pilot flame is small, lazy or yellow, the thermocouple may not be getting enough heat. If another sensor of the same type works on the same appliance, that points to the part itself. If the replacement still fails, the fault may sit with gas pressure, ignition alignment or the valve. That is why a proper diagnosis matters before fitting a new part.
When replacement makes more sense than more cleaning
Cleaning helps when the issue is dirt, light oxidation or poor flame contact. Replacement is the better call when the sensor has burned at the tip, the lead is cracked, the fitting is loose, or the readings stay weak after cleaning and refitting. In busy kitchens, repeated failures waste time and can push staff to keep resetting equipment instead of fixing the cause.
As a rule, replace the thermocouple if it is mechanically damaged, badly corroded, or more than a few service cycles into a problem that returns after cleaning. On older ovens and fryers, the cost of another shut down during service often outweighs the price of the part. It also helps to keep a spare for high-use sites, especially where load shedding means equipment is cycled on and off more often than usual.
A Midrand example from a lunch service failure
A takeaway kitchen in Midrand called after a deck oven kept dropping out during lunch prep. The pilot lit every time, but the flame would not hold once the control was released. The first assumption was a faulty valve. On inspection, the thermocouple tip was coated in grease and the bracket had shifted slightly during a deep clean the week before.
After a proper clean, reposition and post-fit test, the burner held steady and the oven returned to service. The issue looked bigger than it was. That is common in commercial kitchens, where a small alignment problem can mimic a major gas fault. A careful check saves time and avoids replacing parts that are still serviceable.
How to reduce repeat sensor problems
Thermocouples last longer when the appliance is kept in proper working order. Keep the flame clean, avoid forcing panels back into place, and make sure staff do not spray harsh cleaners directly onto hot controls. On coastal sites, check for corrosion more often. In areas with hard use or frequent cleaning, include the sensor in your normal service schedule.
- Inspect during planned maintenance instead of waiting for failure
- Keep the pilot and burner ports free from grease and crumbs
- Check alignment after transport, cleaning or repairs
- Replace damaged clips, brackets and connectors at the same time
- Test the unit after fitting so faults are caught before handover
If you need part identification, compatibility checks, fitting support or post-fit testing, it is better to sort it properly the first time. A flame sensor is not a big part, but when it is right, the kitchen keeps moving.