
Start With a Proper Isolation, Not Just a Switch-Off
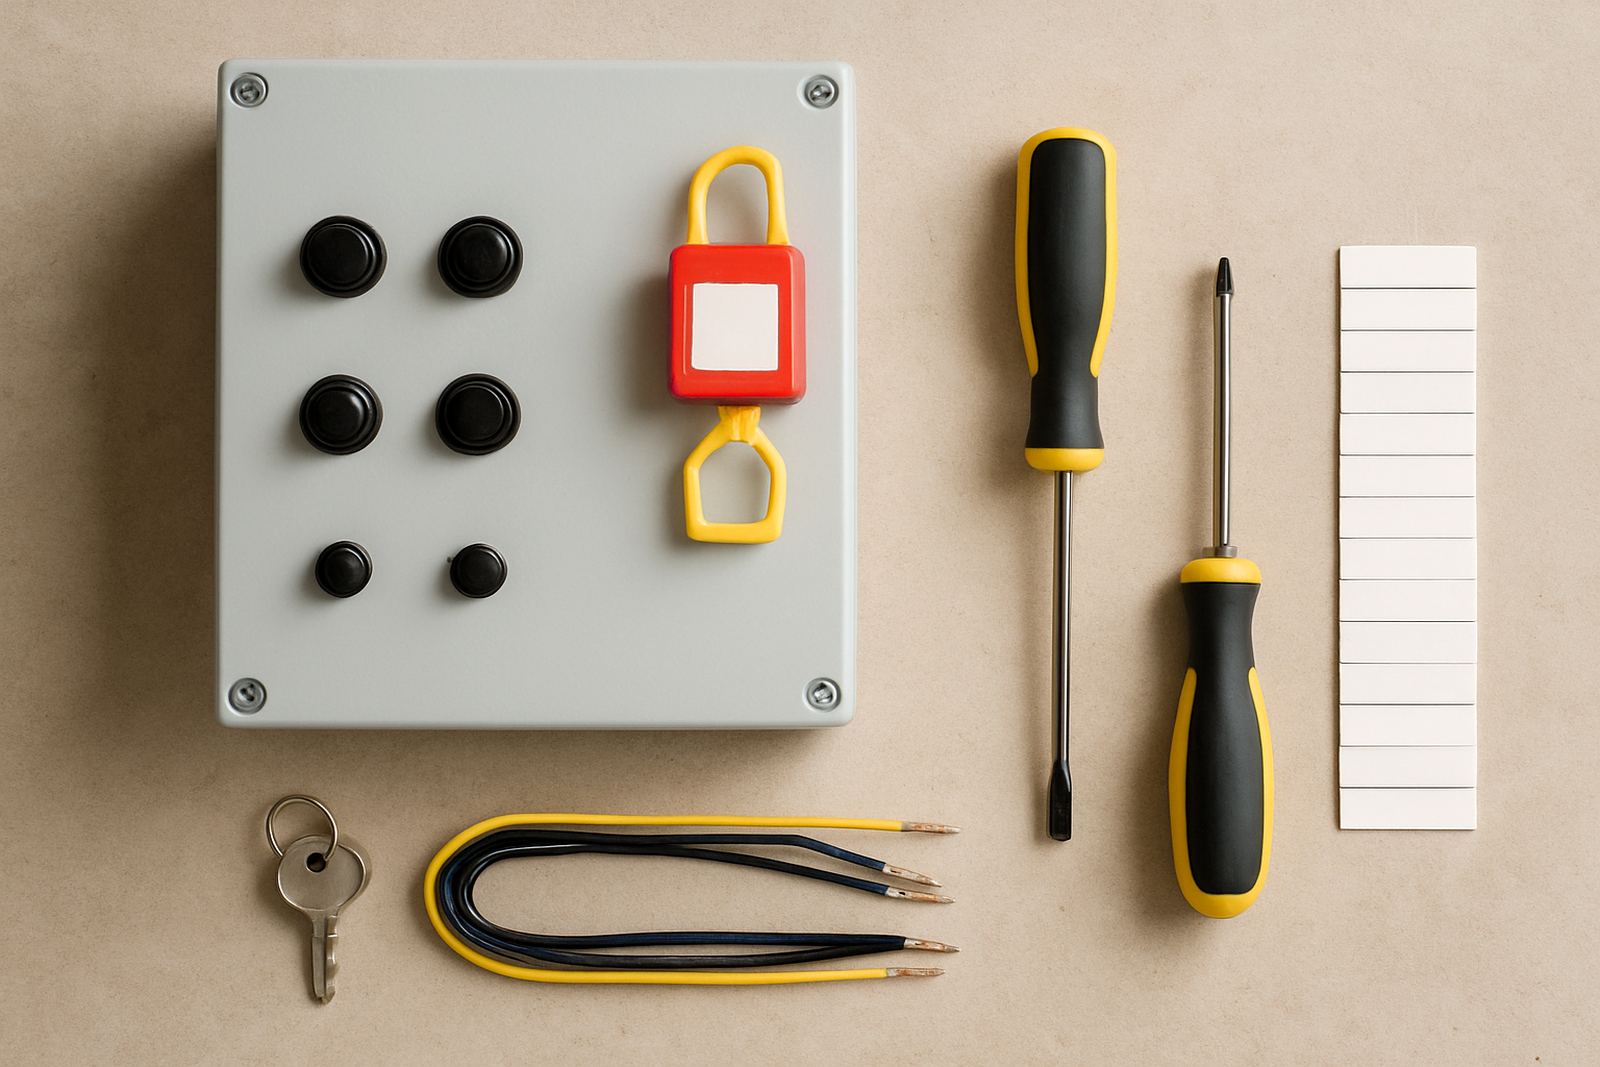
Before any element, thermostat, switch, or relay is removed, the machine must be fully isolated from the supply. On site, that means switching off at the isolator, confirming the unit is dead, and making sure nobody can restore power while work is in progress. In commercial kitchens, especially where staff are rushing through breakfast or lunch prep, a quick flick of a wall switch is not enough.
For equipment in Gauteng, where many kitchens rely on busy shared electrical boards, we often see one machine turned off while another circuit feeds part of the same panel. That is where mistakes happen. If the unit has a plug, unplug it and keep it visible. If it is hard-wired, lock out the supply where possible and tag it clearly. A simple note on the board can stop another staff member from restoring power too early.
- Turn off at the isolator, then verify no current is present.
- Keep the plug or breaker visible to the person doing the work.
- Do not trust a control knob, timer, or light to mean the unit is safe.
Label Every Wire Before You Remove the Panel
Once the power is isolated, the next safety step is wire identification. A control panel often carries several similar-looking conductors, and one wrong connection can damage a thermostat, burner circuit, or pump control. A phone photo helps, but it is not enough on its own. Tags, coloured tape, or small numbered sleeves give you a clearer record when you refit the part.
Use the same habit on dishwashers, ovens, and fryers. Hasty work on a panel cover can also loosen a terminal that was not meant to be touched. If the wiring looks heat-stressed, brittle, or blackened, stop and inspect further before fitting the new part. In coastal kitchens around Durban and Cape Town, moisture and salt air can make terminals corrode faster than owners expect, so a wire that looked fine last month may now be unreliable.
- Take clear photos before removal, from two angles if space allows.
- Mark each wire before disconnecting anything.
- Check for heat damage, loose terminals, or green corrosion on copper ends.
Keep Moisture, Grease, and Metal Shavings Out of the Box
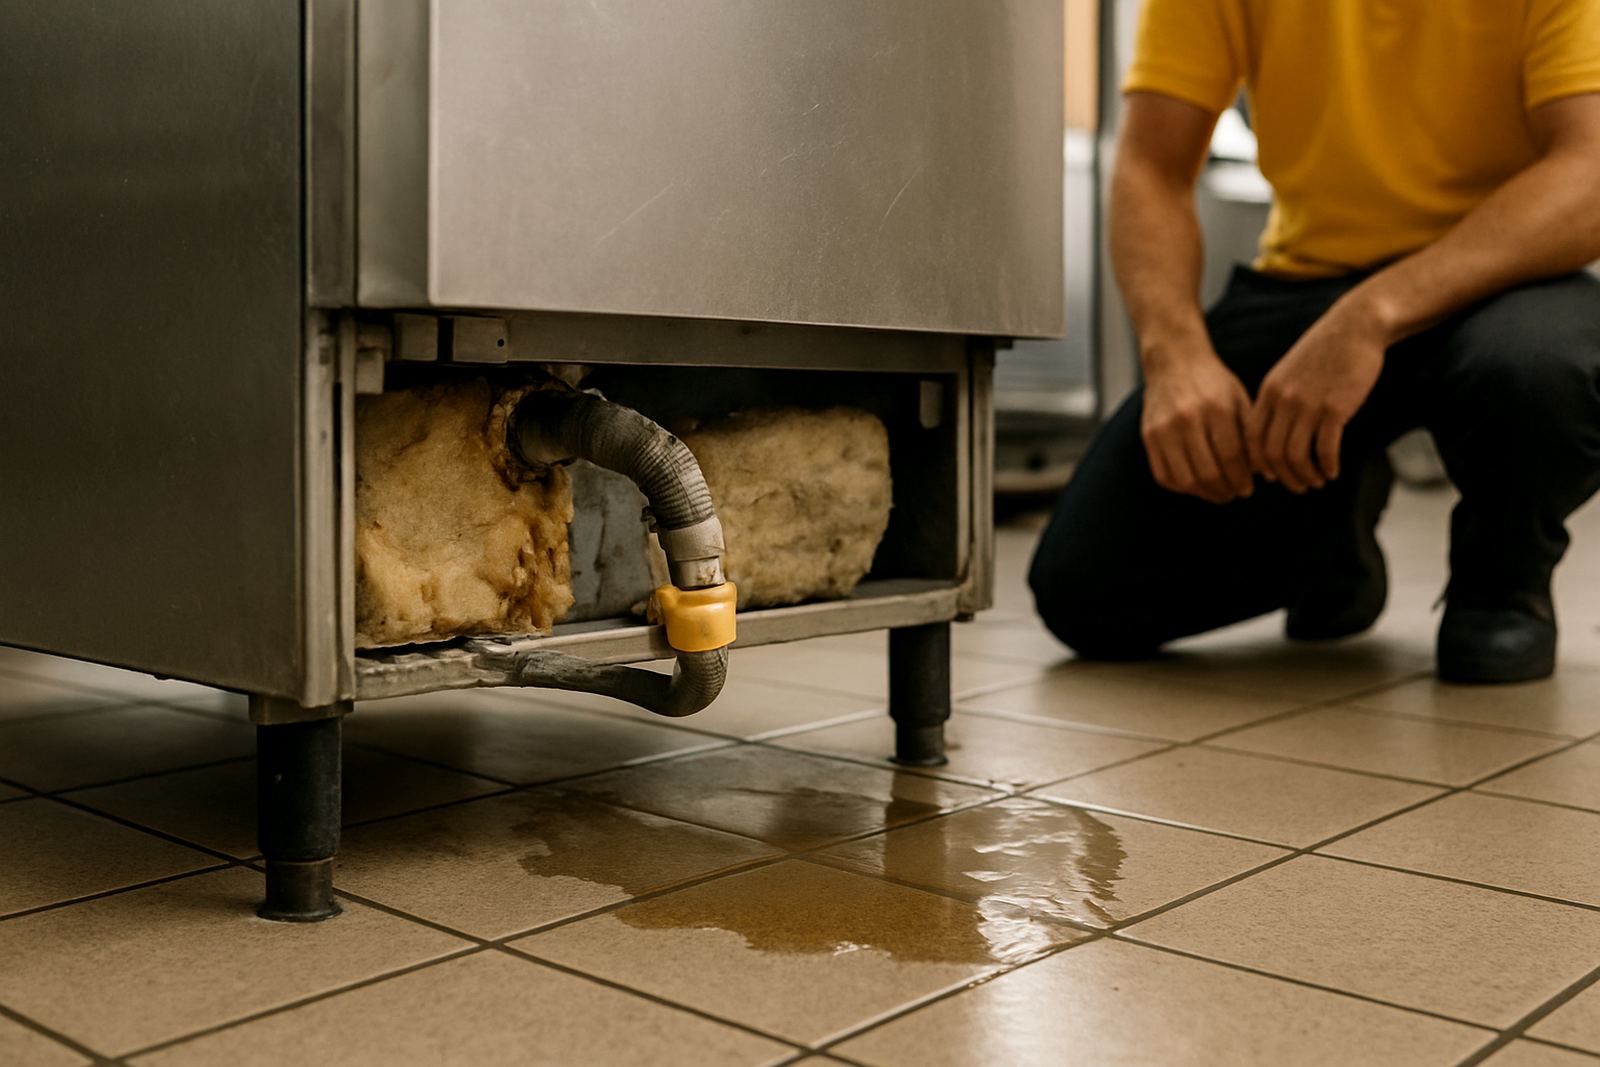
Control panels fail for more reasons than old parts. Grease vapour, water spray, and fine metal shavings can enter the enclosure and cause trouble after a fitting has been completed. During cleaning, people sometimes spray too close to a door seal or panel edge, and that moisture sits on the terminals. Later, when the unit is switched back on, the fault appears to be the new part, when the real problem is contamination.
When a panel is open, keep the area dry and tidy. Use a clean cloth, not a wet one, around terminals and switches. If the machine was standing in a prep area where dishwater overflowed or floor cleaning was done recently, let it dry fully before reassembly. It sounds basic, but many repeat breakdowns start with one wet connection and a dusty panel cover.
- Wipe away grease before removing covers, not after.
- Never leave loose screws, cut wire bits, or packing inside the enclosure.
- If the panel was splashed, dry it properly before testing.
Match the Part to the Machine, Not Just the Old Sample
Control panel safety is also about choosing the correct replacement part. A thermostat, switch, or element control may look similar across several models, but the ratings and terminal layout can differ. Fit the wrong item and the panel may overheat, trip, or fail under load. That is especially risky in kitchens that run through load-shedding schedules, where units are switched on and off more often than normal.
At FoodServ Parts Store, the safest approach is to confirm the machine details before dispatch. Model number, voltage, phase, and the exact part type all matter. In Midrand and across Johannesburg, we often help teams compare the old item to the replacement before anyone starts a strip-down. That saves time and avoids the common mistake of forcing wires onto a terminal that does not belong there.
- Check the machine plate for voltage and model details.
- Compare terminal shape, fixing points, and rating before fitting.
- Do not force connectors that feel tight or sit crooked.
Test the Panel Before the Kitchen Goes Back Into Service
After the part is fitted, the panel must be checked before the machine returns to full duty. A quick power-up is not enough. Watch for unusual smells, sparking, delayed switching, or a breaker that trips as soon as the unit starts drawing load. On ovens and fryers, allow the unit to cycle long enough for the control to respond properly. On dishwashers, confirm that switches, pumps, and heat functions engage in the correct order.
We advise post-fit testing on every call, especially where a kitchen is under pressure and staff want the machine back quickly. One Pretoria bakery we supported had a fryer repaired in the morning and switched back on without a full check. The replacement was fine, but a loose neutral in the panel caused the issue. A proper test caught it before lunch service, which saved a second shutdown.
- Look for abnormal heat at the panel after start-up.
- Confirm the control cycles through its normal sequence.
- Recheck terminal tightness after the first heating cycle.
Bring in Help When the Fault Is Deeper Than the Part
Some faults are not a simple swap. If the panel has burnt tracks, repeated breaker trips, damaged insulation, or signs of water ingress, the safest move is to stop and assess the whole circuit. A replacement element or switch will not solve a failed contactor, overloaded terminal, or damaged wiring loom. Continuing without checking can create a bigger repair later on.
That is where proper part identification and fitting support matters. FoodServ Parts Store dispatches nationally from Midrand, and our team works with kitchens in Johannesburg, Pretoria, Durban, Cape Town, and Bloemfontein. If you need help matching a part, checking compatibility, or arranging onsite parts support, the goal is the same: fit it once, test it properly, and keep the kitchen running.
For spare parts enquiries, email parts@foodservparts.co.za and include the machine model, the part needed, and a clear photo of the control panel if available. The more detail you send, the quicker the matching process becomes.