
Start with the oil, because it tells a lot
Before you even touch the control panel, look at the oil condition and the fryer body. Dark oil, crumbs sitting at the bottom, or oil that smells burnt after only a short service life can point to poor temperature control or a failing element that is cycling badly. In many kitchens around Johannesburg and Pretoria, staff assume the oil is the only issue, when the real fault is a thermostat that is not reading correctly.
Check whether the oil heats evenly and whether the fryer recovers quickly after a basket load goes in. If the recovery time has become slow, the unit may be pulling power but not giving full output. That is usually where a daily check saves money, because it gives you time to call for part identification before service stops for the whole day.
Listen for signs the heat parts are under strain
Heating parts give small warnings long before they fail. A fryer that trips the breaker, heats in bursts, or takes much longer than normal to reach temperature may be showing wear on the element, thermostat, or wiring connections. In coastal areas like Durban, moisture and salt in the air can speed up corrosion on terminals and switches, so a quick visual check is worth doing every day.
Keep an eye out for these warning signs:
- Oil heats slower than normal.
- Temperature jumps up and down on the dial.
- The fryer trips power after switching on.
- Burn marks or discolouration around terminals.
- A burnt smell from the control area.
If the fryer is still running but the readings feel off, do not wait for a full breakdown. A thermostat issue can overheat oil, damage baskets and create an avoidable safety risk.
Check seals and gaskets before oil starts leaking
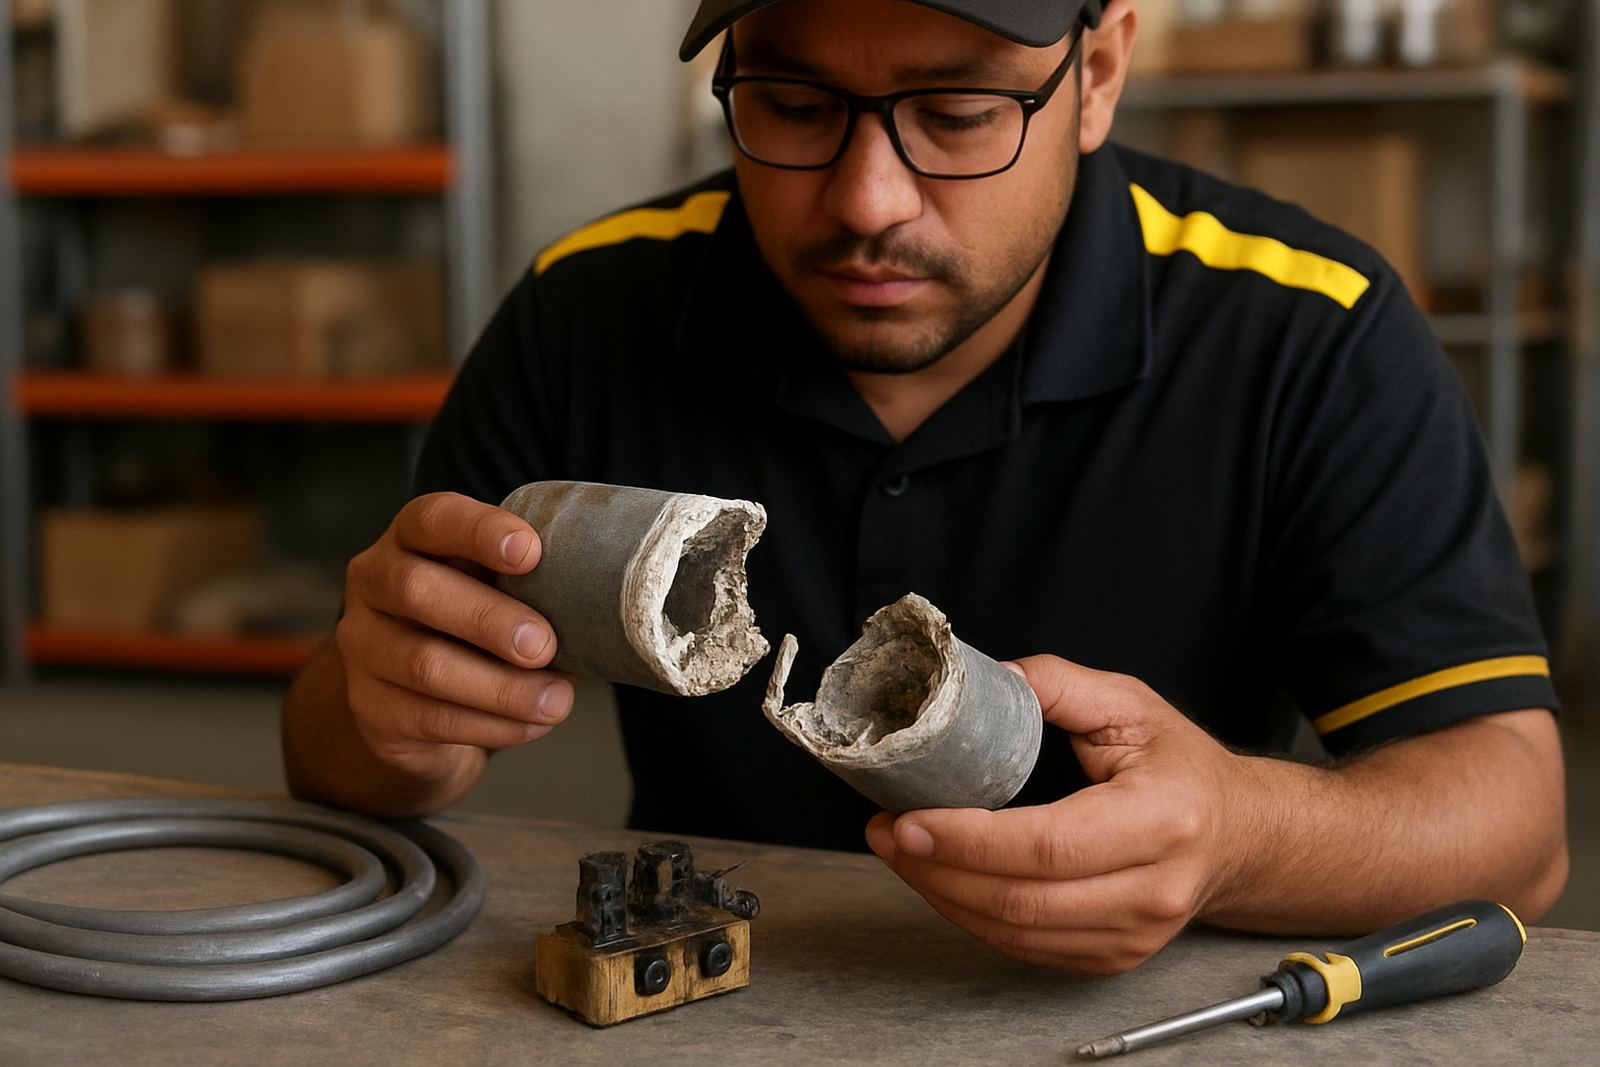
Gaskets are easy to ignore because they are not visible from a distance, yet they play a big part in keeping heat, oil and moisture where they should be. On older fryers, a flattened or cracked gasket can allow oil seepage, which leads to messy floors, higher top up costs and possible slip hazards. In a busy canteen or takeaway kitchen, one small leak can become a daily cleaning problem very quickly.
Run your hand near the door, lid or access panel once the unit is safe and cool enough to inspect. If you see hardened rubber, splits, or a gap where the seal should sit snugly, replace it before the problem spreads. This is also where post-fit testing matters, because a new gasket should be checked under working heat, not just fitted and left.
- Inspect seals for cracks and flattened sections.
- Look for oil stains on the floor or under the fryer.
- Check that doors and panels close evenly.
- Make sure fasteners are tight but not over-driven.
Make the control panel part of the daily routine
Switches and control knobs take a lot of use in commercial kitchens. Staff often turn them hard, wipe them with a wet cloth, or knock them during a rush. Over time, that can loosen the switch panel or cause intermittent faults. If a fryer only works when the knob is held in a certain position, the switch may be wearing out and should be checked before it leaves you stranded mid-service.
Look for sticky buttons, loose dials, cracked housings and labels that no longer match the heat setting. On some units, a faulty switch can cause the fryer to stay on when it should be off, which is not something to leave until the weekend. A quick daily panel check is simple and can prevent a much bigger repair later.
For kitchens in Midrand, Sandton, and Pretoria where staff changes are common, it helps to keep a short written checklist near the appliance. That way the first person on shift can spot changes from the day before and report them immediately.
Keep the burner area clean and properly breathing
Whether the fryer uses gas burners or electric heat, airflow and cleanliness matter. Grease build-up around burner zones, air inlets or vents can affect combustion and heat transfer. In older kitchens, a blocked vent can cause poor heating, unstable flames or repeated shutdowns. That kind of fault often starts with a missed daily clean, then grows into a service call.
Daily checks should include a quick look beneath and around the unit. Remove loose crumbs, wipe up spills, and make sure nothing is stored against the sides where heat needs to escape. If the fryer sits in a cramped prep area, give it enough space to breathe. Municipal inspections and basic workplace safety rules are far easier to pass when equipment is kept clean and accessible.
- Clear crumbs and oil from under the fryer.
- Keep vents and air paths open.
- Watch for uneven flames or heat patches.
- Do not stack boxes or trays against the unit.
When the daily check says call for parts
Some problems are not worth nursing through another shift. If the fryer trips repeatedly, runs cold on one side, leaks oil, or shows a bad temperature reading, it is time to stop guessing and identify the worn part properly. Food service kitchens in Cape Town, Bloemfontein and across Gauteng often lose more money by waiting than by replacing a single element or thermostat early.
Useful information to keep on hand includes the model details, serial number if visible, a photo of the part, and a note of the fault. That helps with compatibility checks and gets the right item to the site faster. If the part needs fitting, arrange it properly rather than forcing a temporary fix that can fail again tomorrow.
A fryer that gets a short daily inspection can stay in service longer, with fewer emergency callouts and less product wasted. That is the simple value of checking small things early. It keeps breakfast, lunch and dinner moving, and it gives your team one less surprise on a busy day.