
Why a pilot flame goes out in the first place
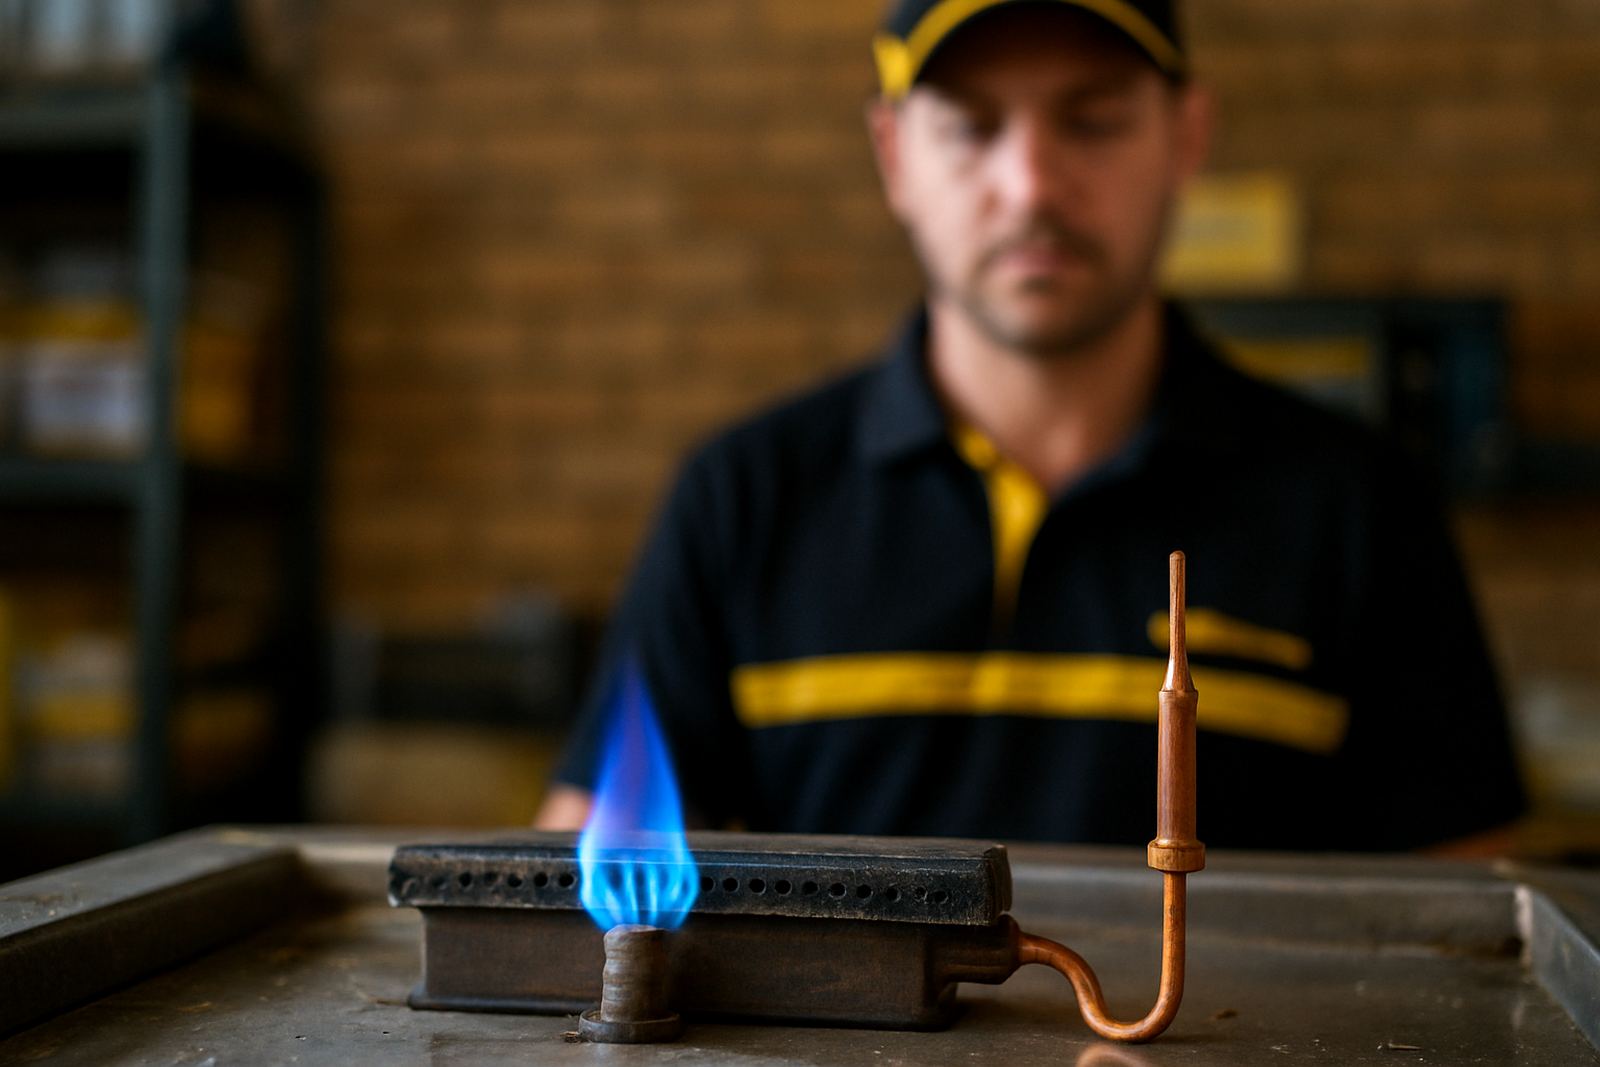
A pilot light is meant to stay steady and do one job only, keep the burner ready to fire. When it keeps going out, the flame is usually too weak or not reaching the sensing tip properly. In commercial kitchens we often find a build-up of grease, flour dust, or carbon around the pilot assembly, and that changes the flame shape enough to cause nuisance shut-offs.
Another common cause is simple movement. If the pilot tube, bracket or injector has been bent during cleaning or a rough service, the flame may still light but sit off-centre. In a hot kitchen, even a small change in position can mean the thermocouple never gets enough heat to hold the gas valve open.
What to check before you order parts
Before replacing anything, switch off the gas supply and let the unit cool. Then do a plain visual check. You are looking for dirt, corrosion, loose fittings and a flame that is yellow, lazy or lifting away from the tip. If the pilot is tiny and keeps fluttering, it often points to blockage or low gas flow.
- Check the pilot nozzle for soot or grease build-up
- Look for a bent bracket or a pilot flame sitting too far from the thermocouple
- Inspect the thermocouple for heat damage or a loose connection
- Confirm the gas supply is steady and valves are fully open
- Make sure recent cleaning did not knock the assembly out of line
If the flame looks fine but the burner still drops out after a few seconds, the thermocouple is a likely suspect. These parts wear slowly, so the failure can come across as a random fault when it is really just age.
How dirt and grease cause weak pilot flames
Commercial kitchens in Johannesburg, Durban and Cape Town all deal with the same problem, airborne grease settles into warm equipment. On a fryer or oven that runs all day, the pilot area can collect a thin film that hardens over time. That film narrows the gas path and distorts the flame. In coastal areas, humidity can make the residue stick faster, and rust on the housing can add to the trouble.
We often see a pilot that looks good on Monday morning, then gets weaker as the week goes on because the unit is running flat out and nobody has cleaned around the burner chamber. A careful clean, not a forceful scrub, is usually better than poking at the nozzle with wire and making the opening bigger.
- Use a proper dry brush or compressed air on the surrounding area
- Clear grease from the pilot shield and burner chamber
- Wipe away loose carbon, but do not enlarge the jet opening
- Check that cleaning chemicals have not left residue on the flame path
When the thermocouple is the real problem
The thermocouple is a safety part, and when it weakens the pilot may light but not stay on. It works by sensing heat from the flame and sending a small signal to keep the gas valve open. If it is cracked, bent badly, or sitting too far from the flame, the signal drops and the gas cuts off. That is why some faults only show after a few seconds.
A quick clue is this: if you must hold the control knob in for longer than usual before the pilot stays lit, the thermocouple may still be borderline. If it never holds at all, replacement is often the cleaner fix. In a Midrand kitchen doing breakfast trade, that can save a lot of downtime compared with repeated re-lighting through the morning rush.
A practical service routine for busy kitchens
When a pilot keeps dropping out, the best approach is to work step by step instead of swapping parts at random. First confirm the flame position, then check the thermocouple and pilot assembly, and only then move to the valve or control side. That saves money and avoids changing good parts. It also helps when the same machine goes down again after load-shedding and restart cycles, because you know where the weak point is.
For kitchens that run fryers, ovens and dishwashers every day, a short monthly check can prevent a lot of callouts. Make the pilot area part of the normal cleaning and inspection schedule, especially in sites with heavy flour use or coastal moisture.
- Log how long the pilot stays lit before failure
- Note whether the problem happens after cleaning or after shutdowns
- Keep a spare thermocouple and pilot assembly for critical equipment
- Test the unit after any fitting work before returning it to service
When to call for parts support and fitting
If the pilot still will not stay lit after a basic clean and visual check, it is time for a proper compatibility check. Different ovens, fryers and dishwashers use different thermocouple lengths, thread types and pilot layouts, so a close match is important. A part that nearly fits can create repeat faults and wasted time.
From our Midrand base, we support kitchens nationwide with part identification, fitting and post-fit testing. That helps whether you are in Pretoria, Durban, Bloemfontein or Cape Town. If you need the right element, thermostat, gasket, burner or switch after diagnosing a pilot fault, we can help match the part to the machine so the repair lasts.
For part identification or fitting support, email parts@foodservparts.co.za.