
When a switch trip is only the symptom
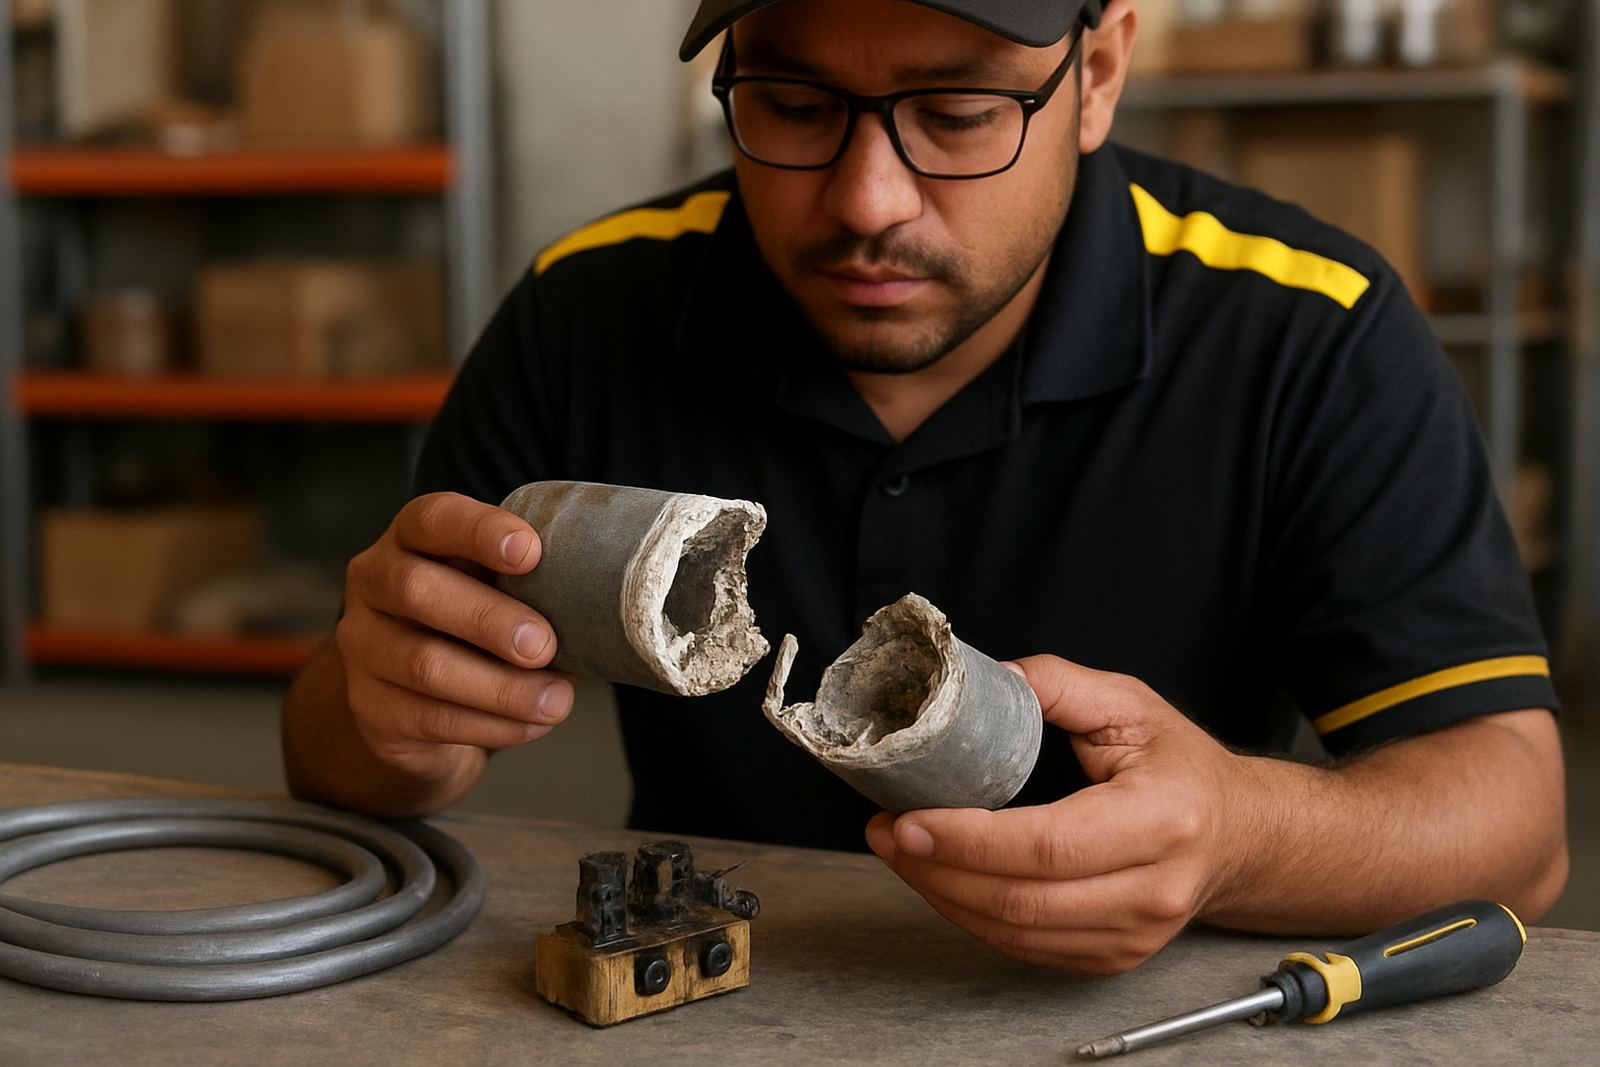
On ovens, fryers and dishwashers, a switch may fail because it has aged, but it can also trip when another part is drawing too much current. A damaged element, sticky contactor, wet terminal block or burnt wiring can force the switch to work harder than it should. In busy kitchens, that extra load builds up fast, especially where equipment runs through long trading hours and load-shedding changeovers.
If the switch gets hot to the touch, smells burnt, or works again after cooling down, do not assume the problem is fixed. That is often a sign the switch is only part of the story. A proper check should look at the full circuit, not just the visible control on the front panel.
- Repeated tripping after reset
- Heat marks around the switch housing
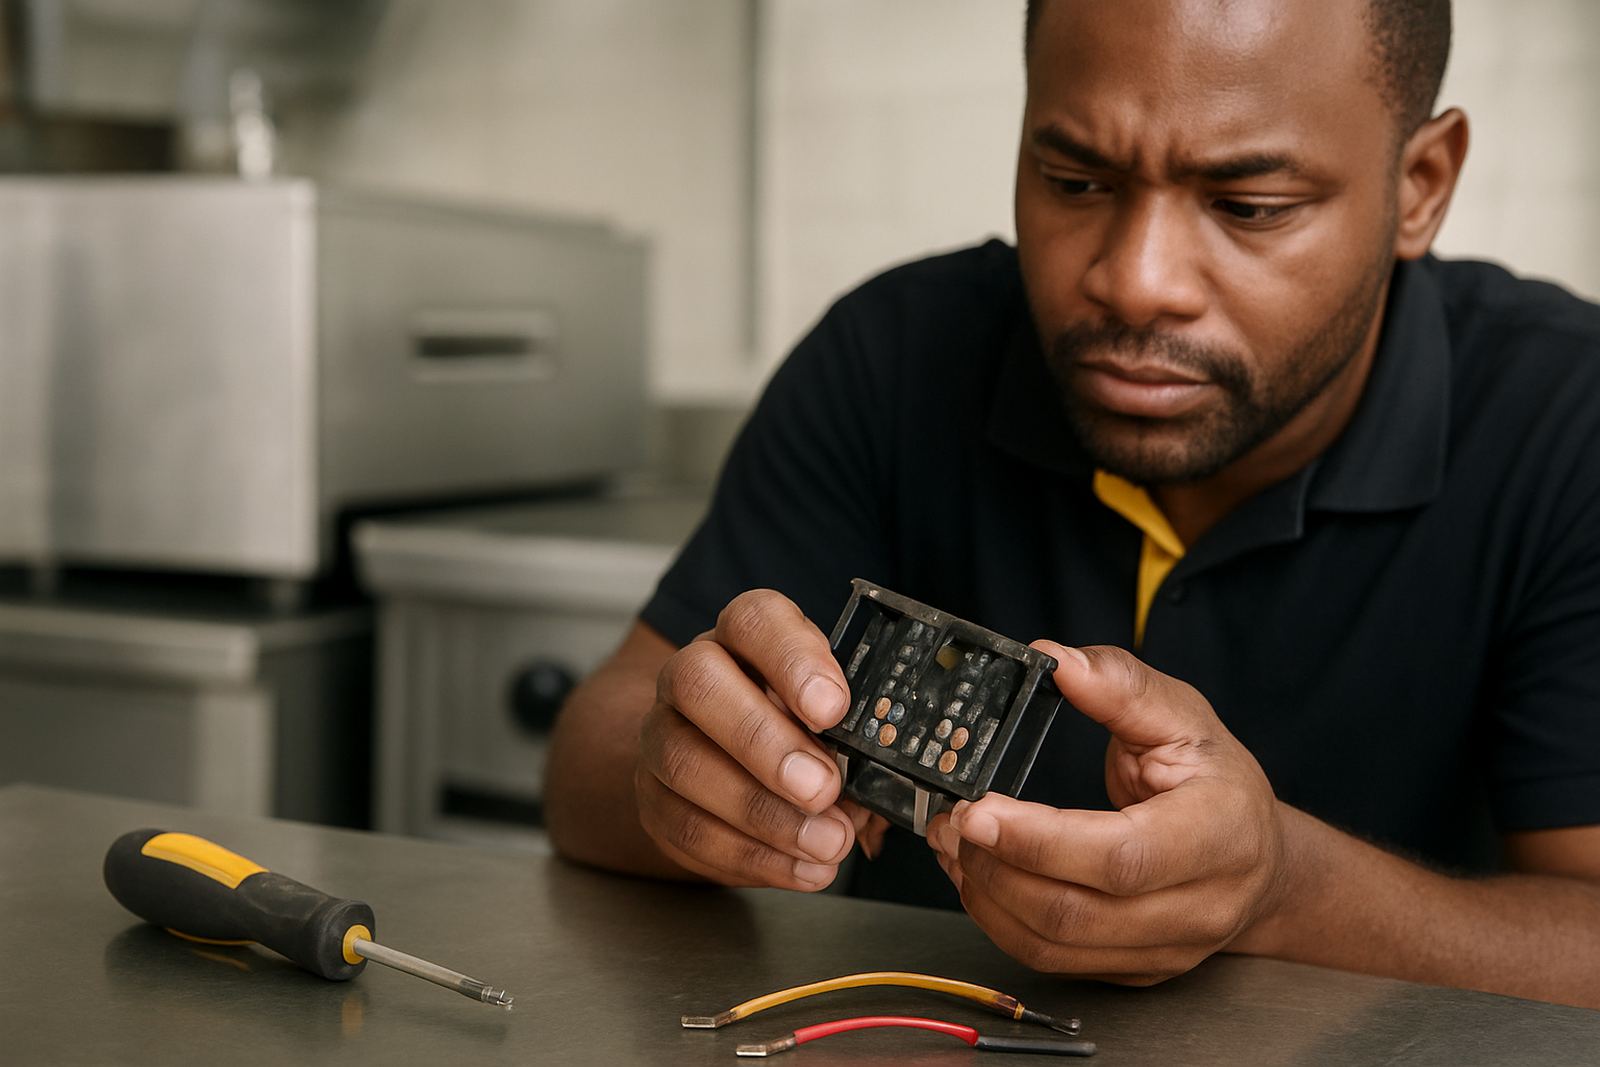
- Loose or discoloured terminals
- Intermittent operation when the unit warms up
Signs the switch itself is faulty
A bad switch usually gives a few clear clues. The button may feel loose, click unevenly, or fail to stay in position. Sometimes the appliance only works when the switch is held at a certain angle. In other cases, the outside looks fine, but the internal contacts have pitted and no longer pass power correctly.
On commercial kitchen gear, small faults can show up as slow heating, a burner that cuts in and out, or a dishwasher cycle that stops before rinse. If the equipment is otherwise sound and the tripping stays tied to one control, the switch may be the failed part. Still, it is worth checking the connected load before fitting a replacement, otherwise the new part can fail again within days.
- Physical looseness or broken actuator
- No continuity when tested in the on or off position
- Burning on the back of the switch body
- Operation changes when the panel is tapped lightly
Faults that can mimic a bad switch
Not every tripped switch is a switch fault. In kitchens near the coast, moisture and salt air can creep into panels and cause tracking across terminals. In older sites, undersized cables or tired plugs may also create heat where the problem starts outside the switch. A fryer with a failing element, for example, may trip a switch that looks perfectly usable.
These are the usual suspects that can imitate switch failure:
- A shorted or partially shorted element
- Loose neutral or live connection in the panel
- Faulty thermostat or control relay
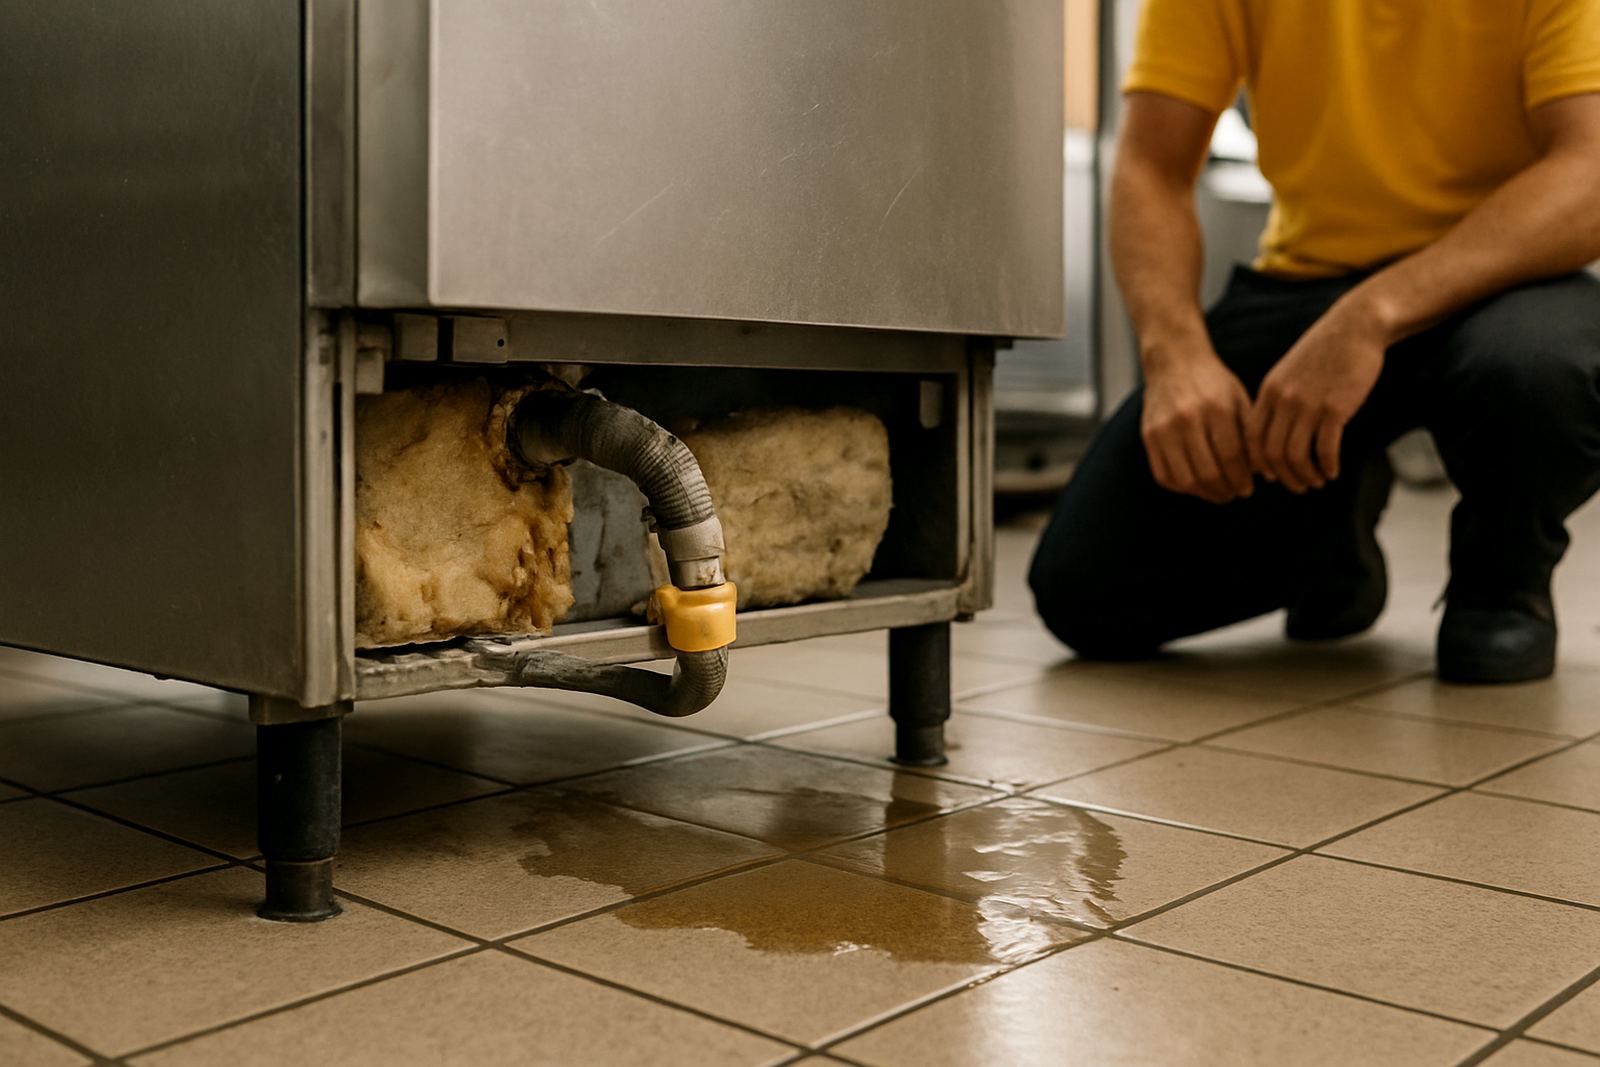
- Water ingress after cleaning or a spill
- Damaged wiring insulation near hot surfaces
If the same appliance trips after every power return from load-shedding, check for surge stress and weak terminals. That pattern is common in kitchens that restart several machines at once. The switch may survive the first few resets, then fail under the next heat cycle.
How to check before ordering a replacement
Before you order a new switch, confirm the rest of the circuit is safe and serviceable. A quick visual check can save time and money, but it should be done with the power isolated. If there is any sign of melted insulation or arcing, the unit should not be returned to service until the fault is traced.
Useful checks include:
- Inspect terminals for blackening or looseness
- Test continuity across the switch in both positions
- Check the load for shorts or high resistance
- Look for moisture around the control area
- Confirm the rating matches the appliance draw
For example, a Midrand takeaway reported a dishwasher control that tripped every second morning. The switch was replaced first, but the issue stayed. The real cause was a loose heater connection that had cooked the terminal block. Once that was corrected and the switch panel was rechecked, the machine ran properly again. It saved the site from a second round of parts spending.
Why the right part match matters
Switches are not one size fits all. The physical fit, amperage rating, number of poles and terminal layout must match the appliance. A part that looks close enough can still fail under commercial use. In ovens and fryers, heat around the panel can also affect the life of the replacement, so the correct spec matters even more.
When matching a switch, check the original part number, the terminal arrangement and the way it mounts into the panel. If the equipment has been modified over time, compare the actual wiring too. On imported kitchen units, model labels may be faded or missing, so photos of the old part often help more than the name on the front badge.
In coastal cities like Durban and Cape Town, corrosion can change how a switch sits in the panel and can also affect nearby connectors. That is why a replacement should be chosen with both the electrical rating and the local operating conditions in mind.
What to do next if the switch keeps failing
If the replacement switch trips again, stop cycling power and trace the fault properly. A repeated failure is the appliance telling you the problem is still present. Leaving it in service can damage the wiring loom, control board or connected heating parts, and the repair bill gets bigger each time.
The practical order is simple:
- Confirm power is isolated
- Test the switch and the load separately
- Inspect for heat damage, moisture or loose terminals
- Fit the correct part only after the fault source is found
- Run post-fit testing before returning the unit to use
For kitchens in Johannesburg, Pretoria, Durban, Cape Town and Bloemfontein, a quick parts callout can keep downtime down. If you have the appliance make, model and a clear photo of the switch face and terminals, part identification becomes far easier and the right replacement can be matched first time.