
Start with the simple checks before opening the panel
When a fryer is not heating, first confirm the unit is actually getting power. Check the isolator, plug top if fitted, circuit breaker and any wall switch. In many kitchens a fryer shares supply with other appliances, so a tripped breaker or a loose neutral can stop heating while lights or screens still look normal. After load-shedding, some units also come back with a fault trip that needs resetting at the equipment, not only at the board.
Look for obvious signs at the fryer itself. If the pilot lights or display come on but there is no heat rise, the control side may be alive while the power side is open. If the fryer trips the supply as soon as heat is selected, there may be a shorted element, damaged cable, or moisture in the terminal area. On coastal installs in Durban or Cape Town, corrosion around terminals and spade connectors is common after humidity and salt air.
- Confirm the mains supply and isolator are on
- Check for a tripped breaker or blown fuse
- Reset the fryer safety device if it has one
- Look for burnt smell, discoloured terminals, or loose wires
How to tell if the heating element has failed
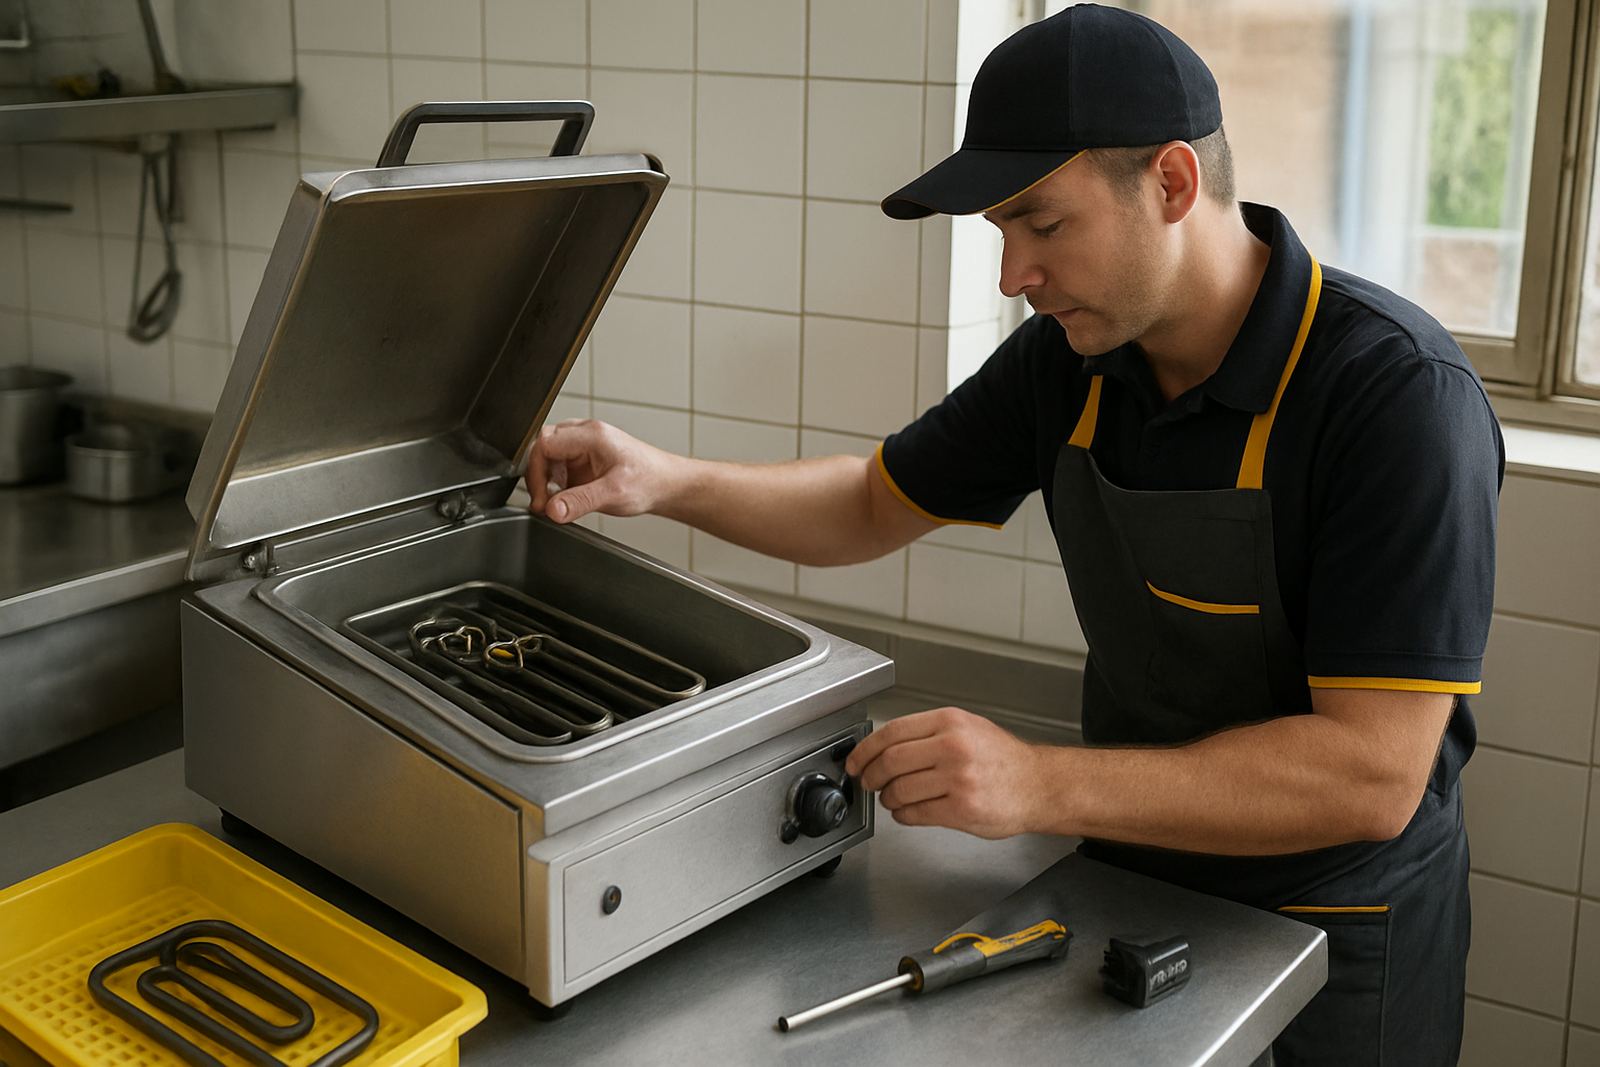
The heating element is one of the first parts to test. A fryer element can go open circuit, partially fail, or earth out. If it is open circuit, the fryer may run the timer and controls but never warm the oil. If it has a partial break, the fryer heats very slowly and struggles to recover after a basket drop. If it has an earth fault, the unit may trip the breaker as soon as heat is called for.
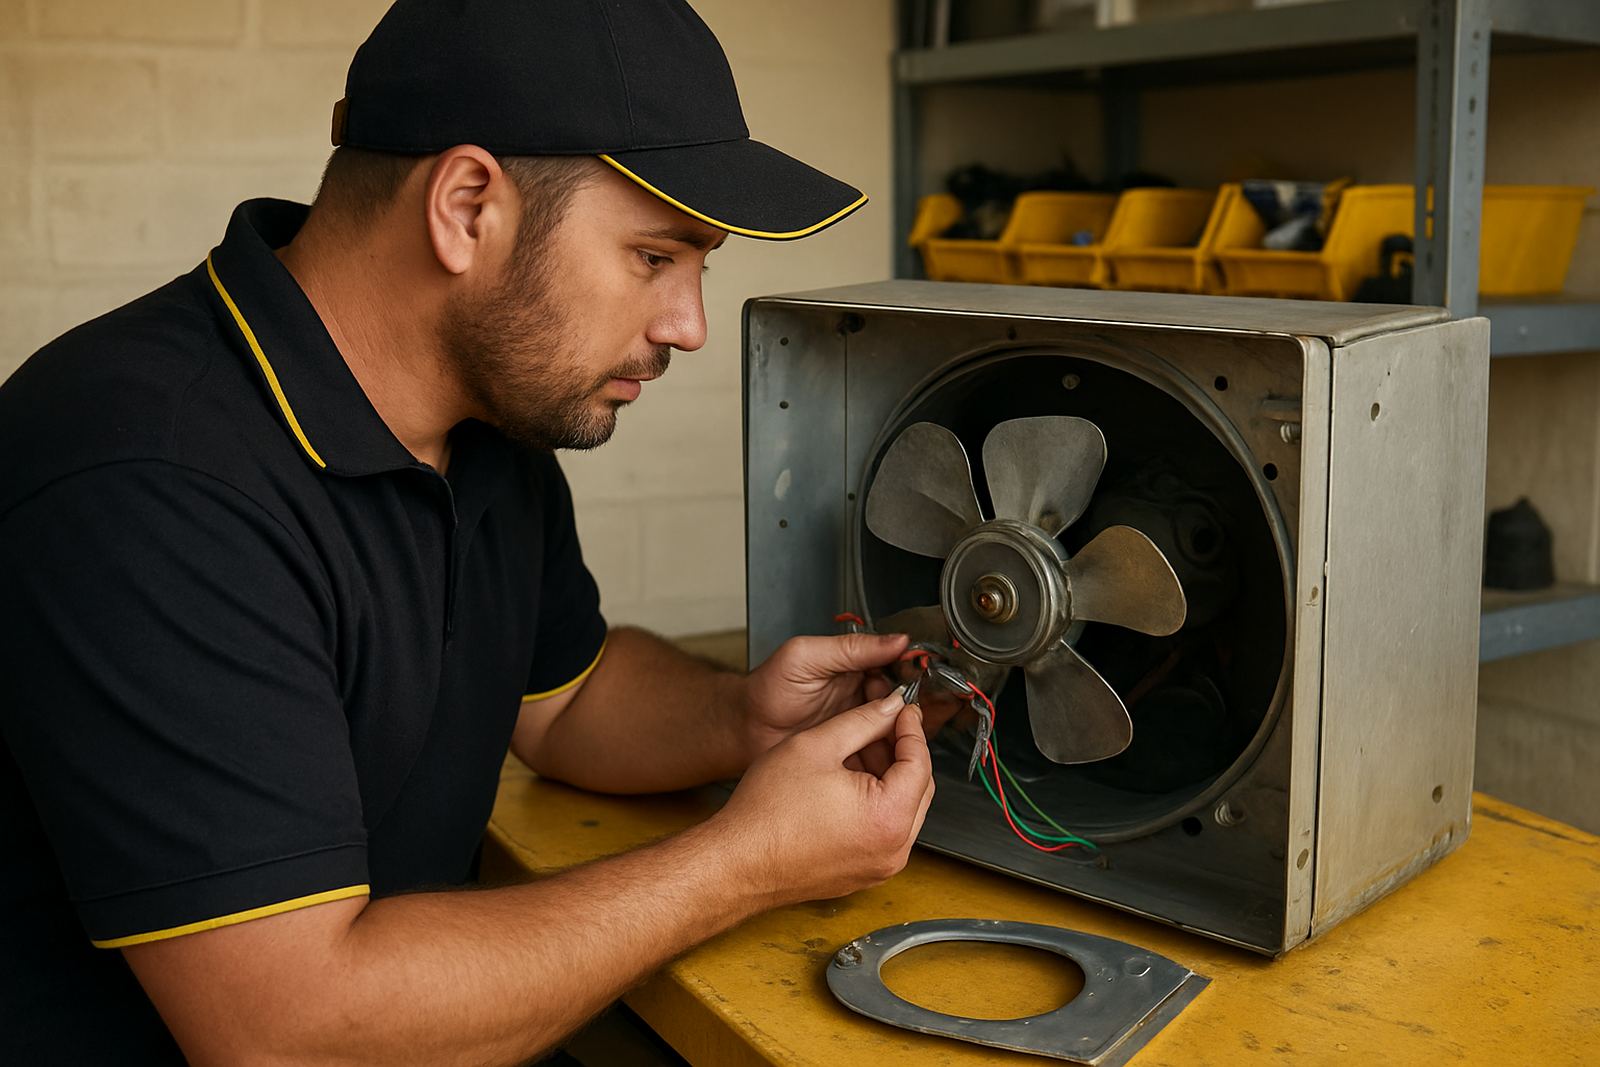
Before removing anything, isolate the fryer properly and let it cool. Remove the access panel and inspect the element terminals for heat damage. Broken insulation, white powdery residue, and darkened lugs all point to overload or a poor connection. In hard working kitchens, a loose terminal can overheat long before the element fails completely, so do not only look at the coil itself.
- Test for continuity across the element with a meter
- Check for earth leakage from each terminal to the frame
- Inspect terminal lugs for burning or melting
- Compare the element rating to the fryer model and tank size
Thermostat and high limit faults that stop heat
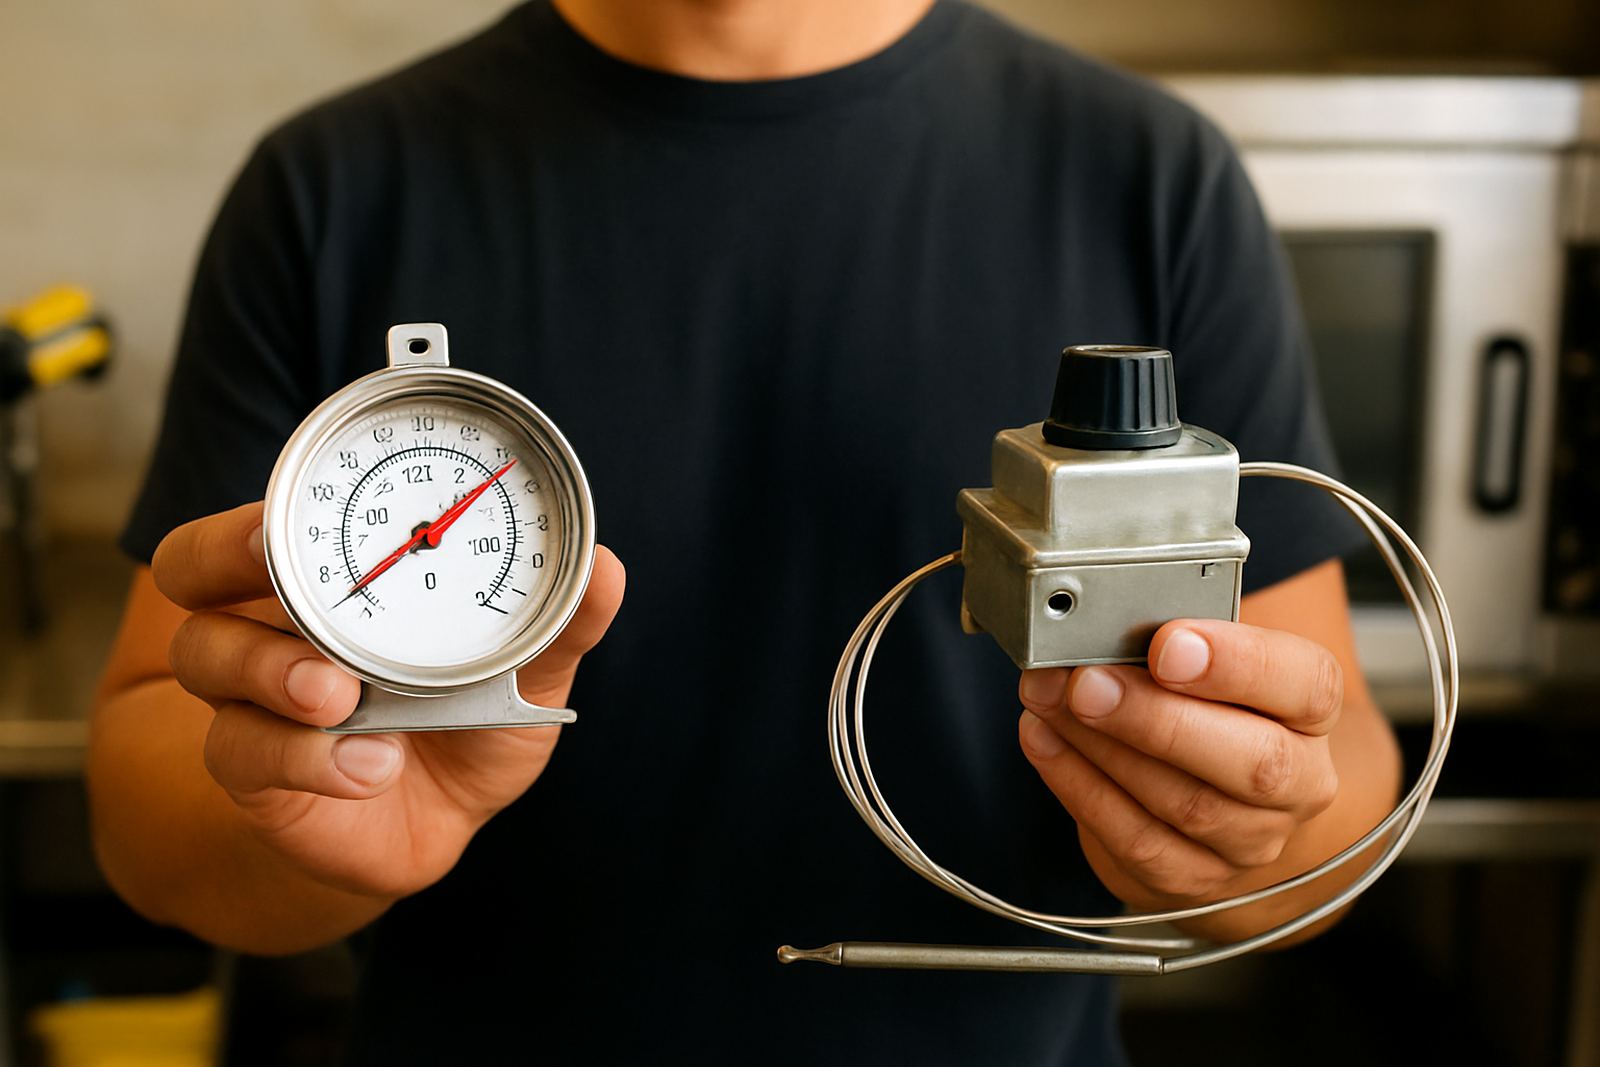
If the element tests fine, the next likely fault is the thermostat or high limit. A fryer thermostat may stick open, drift out of range, or stop calling for heat once it gets warm. The high limit is a safety cut-out that opens when the oil gets too hot or when poor circulation causes a false overheat. When that device trips, the fryer can look normal but refuse to heat again until it is reset or replaced.
A common sign is a fryer that heats for a short while, then stops and stays cold until it cools down. Another sign is uneven temperature on the oil surface, which can mean the thermostat is reading wrong. Check that the sensing bulb or probe is seated correctly and not bent against the tank wall. If it has moved, the fryer may cycle badly and the oil can scorch at the bottom while the top still looks fine.
- Check the thermostat for continuity when turned to heat
- Test the high limit for reset and continuity
- Inspect probe position and any capillary tube routing
- Look for oil carbon build-up around the sensor area
Why contactors, relays and switches matter
Many commercial fryers use a contactor or relay to send power to the element. If that part has pitted contacts, a burnt coil, or a loose control feed, the fryer may click but not heat. You might hear a faint buzz, a repeated chatter, or nothing at all when heat is selected. In some kitchens the machine will work early in the day then fail after service rush, which often points to worn switching gear under load.
Switches and selector controls can also cause the same fault. A broken heat switch, damaged timer contact, or failed control board output can stop the contactor from pulling in. Check for loose wiring at the switch panel and the terminal block. Any signs of arcing, blackening, or brittle insulation mean the part has been running hot for a while, not just failed today.
- Listen for the contactor pulling in when heat is selected
- Check coil voltage at the contactor
- Inspect switch terminals for arcing or looseness
- Replace any relay or contactor with burnt contacts
Control circuit checks for intermittent no-heat faults
If the fryer only fails sometimes, the control circuit may be the real problem. Loose neutral connections, cracked wire ends, and heat damaged spade connectors can open the circuit when the cabinet warms up. Vibrations from daily use and repeated cleaning also work connections loose, especially where the fryer is moved for floor cleaning or service access.
Check the wiring path from supply through the thermostat, safety limit, contactor coil and back to neutral. A fault in any one point can stop heating. If the fryer has indicator lights, use them as clues. A heat light on with no actual heating often means the control side is live but the power side is not closing. No heat light and no click usually means the control circuit is open earlier in the chain.
- Test each segment of the control circuit in order
- Inspect all crimp ends and plug connectors
- Check for water ingress after wash-down
- Confirm the control voltage matches the fryer spec
What to check before you order a replacement part
Getting the right part first time saves down time, especially for takeaway shops and hotels that cannot wait for a second delivery. Record the fryer make, model, serial number if visible, and the exact part details. Measure the element length, bracket spacing, terminal style, and probe type. For thermostats, note the temperature range and capillary length. For contactors and switches, check the coil voltage and terminal layout. It sounds small but one wrong detail can hold up the repair for days.
If you are not sure whether the problem is the element or the control side, isolate the fault before fitting anything. A new part fitted into a damaged circuit will fail again fast. If the fryer has repeated trips, visible burning, or water near the electrics, stop and inspect the full unit before switching back on. That is especially important in older sites where the supply may already be under strain from other equipment.
- Model and serial number
- Part shape, size and fixing points
- Voltage and wattage ratings
- Any photos of the old part and wiring positions
After fitting, test the fryer properly
Once the replacement is fitted, do not rush straight into service. Run a controlled heat test and watch the current draw, temperature rise and cut-out cycle. Check that the fryer reaches set point without tripping, then confirm it holds temperature under a normal load. If the oil heats too slowly, there may still be a connection issue or a mismatch between the part and the unit.
After the first test, inspect the terminals again for warmth, smell or movement. A secure fit now prevents another call-out later. For busy kitchens in Johannesburg, Pretoria, Durban, Cape Town or surrounding towns, a proper post-fit check is often the difference between one repair and repeat breakdowns all week.