
What a pilot assembly does on a gas appliance
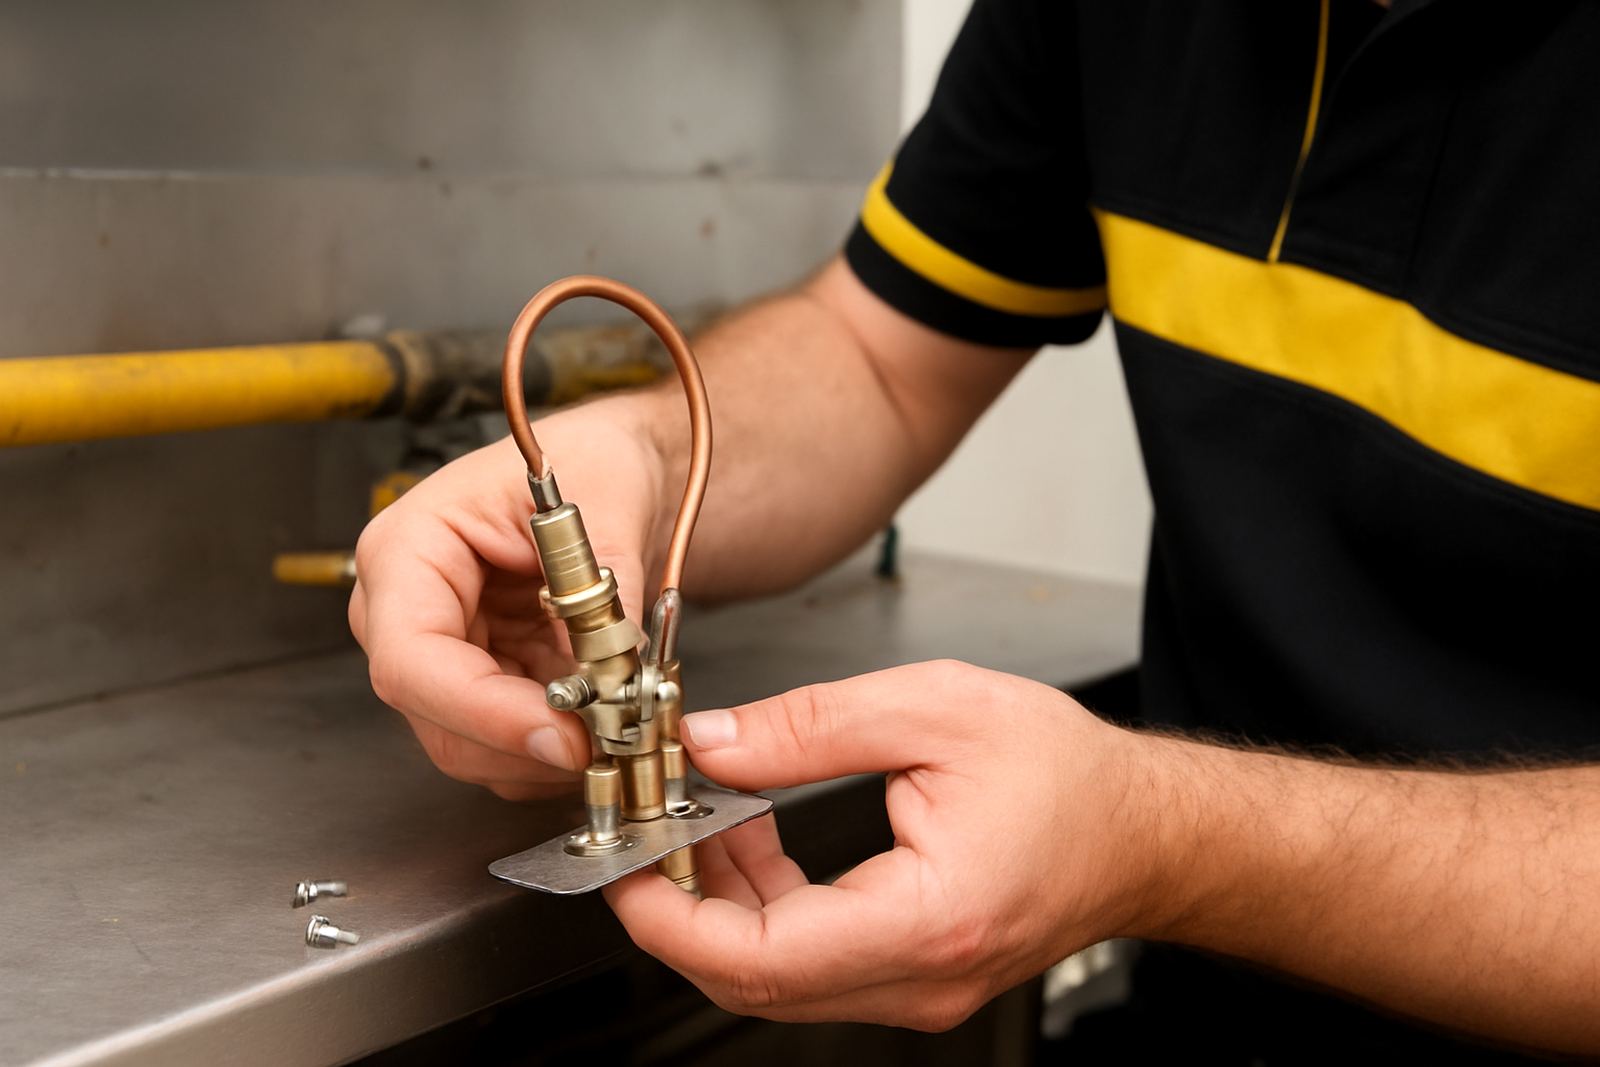
A pilot assembly is the small ignition set-up that starts the main burner on gas ovens, fryers, grills and some water or wash equipment. It usually includes the pilot burner body, injector or jet, tubing connection, bracketry and flame sensing parts where required. When the pilot is working correctly, the appliance lights quickly and stays stable instead of clicking, flooding with gas, or going out after a short burn.
In busy kitchens around Johannesburg, Pretoria and Durban, pilot faults often show up after cleaning, vibration, or long service in greasy heat. Coastal humidity can also affect flame stability and corrode small fittings. A correct assembly matters because a pilot that is too large, too small, or poorly positioned can cause unreliable lighting and repeated call-outs.
Sizes, formats and common fitment options
Pilot assemblies are not one size fits all. The right unit depends on the appliance design, the gas type and how the burner chamber is built. Some units are supplied as complete assemblies, while others are sold as separate pilot burners and fittings for repair work.
- Natural gas or LPG compatible options
- Single pilot and dual pilot arrangements
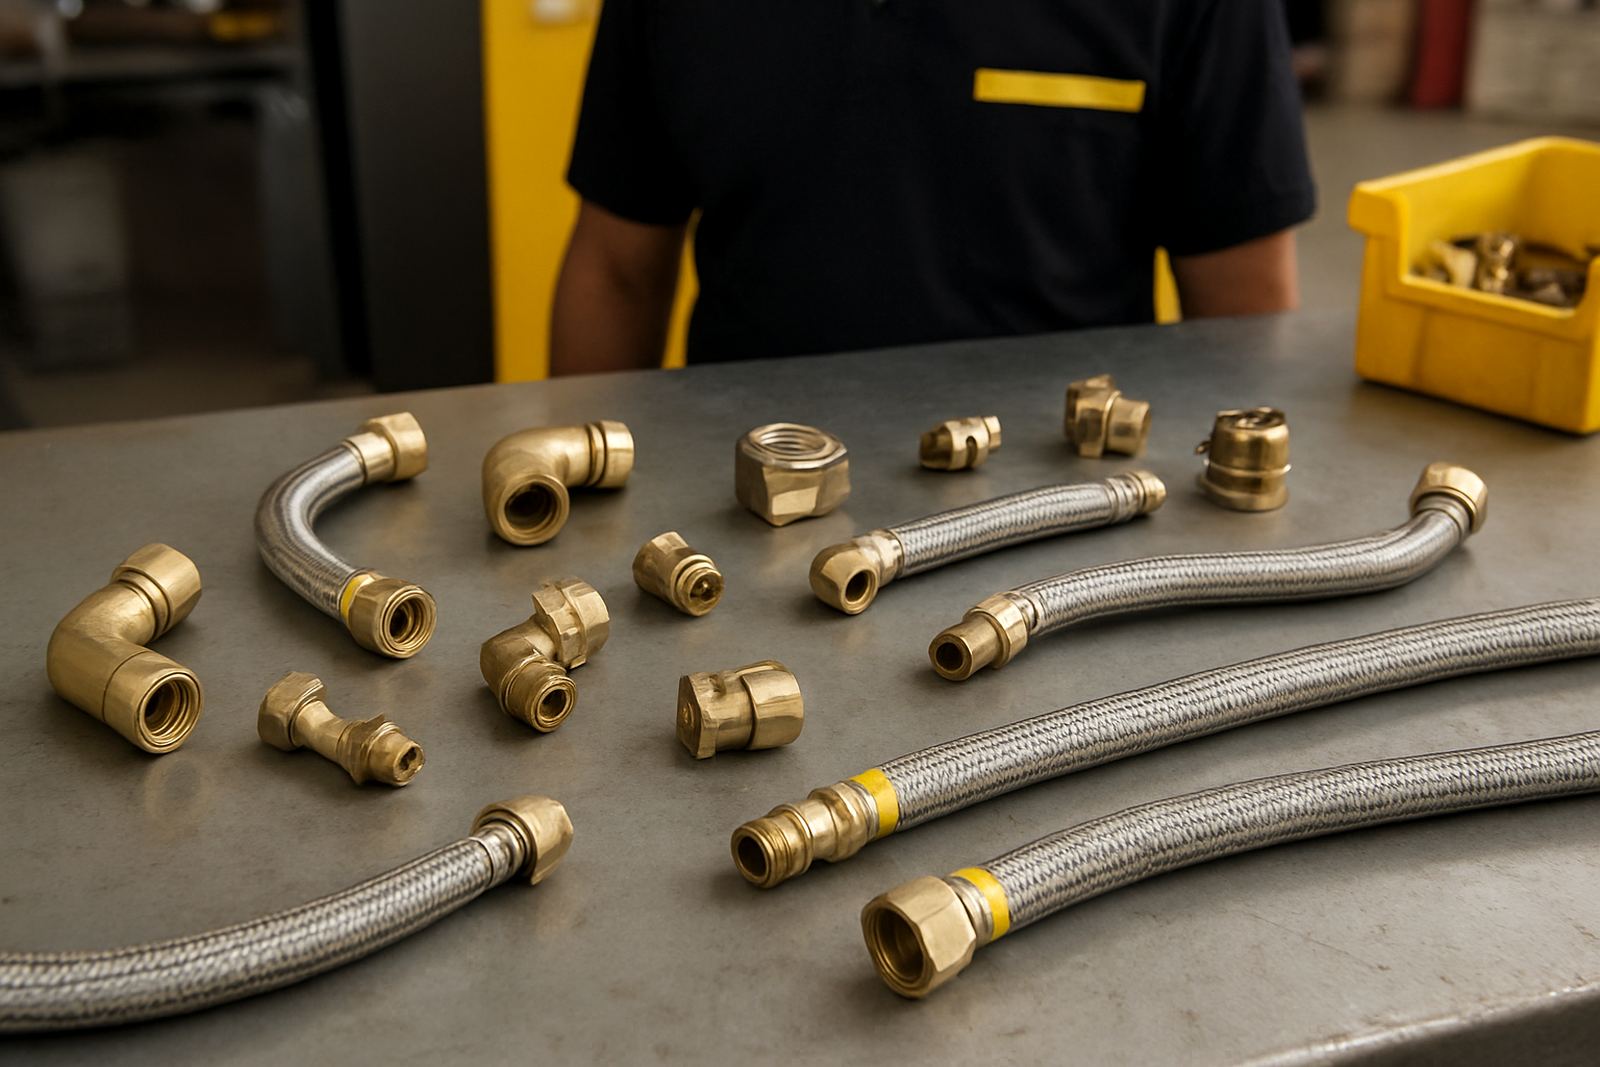
- Hard pipe, compression or push-in style connections
- Bracket-mounted and clip-mounted formats
- Units for ovens, fryers, dishwashers and certain heated cabinets
Typical small pilot tubing sizes include 4 mm, 6 mm and 8 mm copper or equivalent compression styles, with thread and seat details varying by appliance. If the original unit has been damaged by heat, cleaning chemicals or corrosion, we check the mount, connection point and burner alignment before recommending a replacement.
Where pilot assemblies suit best in commercial kitchens
These parts are used where dependable ignition is needed every day and where downtime costs money. We see them on sectioned gas ovens, stand-alone fryers, combination cooking units, some hotplates and selected dishwashing systems that use gas-fired heat. In bakeries and takeaways, the main issue is often repeated ignition through the day, which wears the pilot tip and the nearby fittings.
They also suit kitchens that work under load-shedding with backup gas equipment, because poor ignition can become a bigger problem when staff need the appliance back in service quickly. If a unit is installed in a mall kitchen, hotel, school canteen or hospital prep area, it also needs to be serviceable without making a mess of the gas line layout.
Installation checks and gas supply requirements
Pilot assemblies must be matched to the appliance and installed with proper gas safety checks. The gas type, line pressure and burner position all affect how the pilot lights and whether it stays blue and steady. For LPG systems, incorrect pressure or a partially blocked jet can give a lazy yellow flame, soot, or delayed ignition.
Before fitting, check that the appliance valve, thermocouple or flame sensing part, and burner ports are clean and in good order. If the pilot keeps failing after a new part is fitted, the problem may be upstream, not in the pilot itself. On site, our fitting team can test for leaks, verify flame pattern and confirm safe operation after installation.
- Confirm gas type: LPG, natural gas, or converted supply
- Check inlet pressure and regulator condition
- Inspect the thermocouple or flame sensor if fitted
- Make sure the pilot flame is aimed correctly at the burner or sensor
- Test for leaks and carry out post-fit lighting checks
Care, cleaning and servicing in real kitchen conditions
Most pilot problems start with dirt, not the part itself. Grease, flour, detergent residue and food crumbs can block the jet opening or interfere with the flame path. On dishwashers and ovens, steam and repeated heat cycles also loosen fittings over time. A quick service clean at the right interval can save a full shutdown later.
Do not poke the jet hole with hard wire or enlarge it. That changes the gas flow and can create an unsafe flame. Instead, brush off loose carbon, check the tube for kinks, and inspect the mount for movement. If the tip is burnt, the bracket bent, or the flame keeps lifting off the burner, replacement is usually the right call.
- Clean around the pilot area during planned maintenance
- Replace damaged copper tubing or cracked ferrules
- Keep grease and detergent overspray off the flame area
- Inspect after deep cleaning or moving the appliance
- Watch for repeated relighting, clicking or gas smell
What to check before you order
Ordering the wrong pilot assembly can delay a repair by a day or more, especially when a kitchen in Midrand, Bloemfontein or Cape Town needs parts sent urgently. The best starting point is the appliance make and model, but if that plate is missing, clear photos and measurements often solve the issue. A few millimetres can make the difference between a clean fit and a part that will not mount.
Please check the following before ordering: connection size, mounting style, gas type, whether the unit needs a thermocouple or flame sensor, and the overall length of the assembly. If you are replacing a damaged part, send a photo of the old one next to a ruler or tape measure. We can help with part identification and compatibility checks from our Midrand depot, with dispatch across Johannesburg, Pretoria, Durban, Cape Town and other areas nationwide.
Support for repairs, fitting and post-fit testing
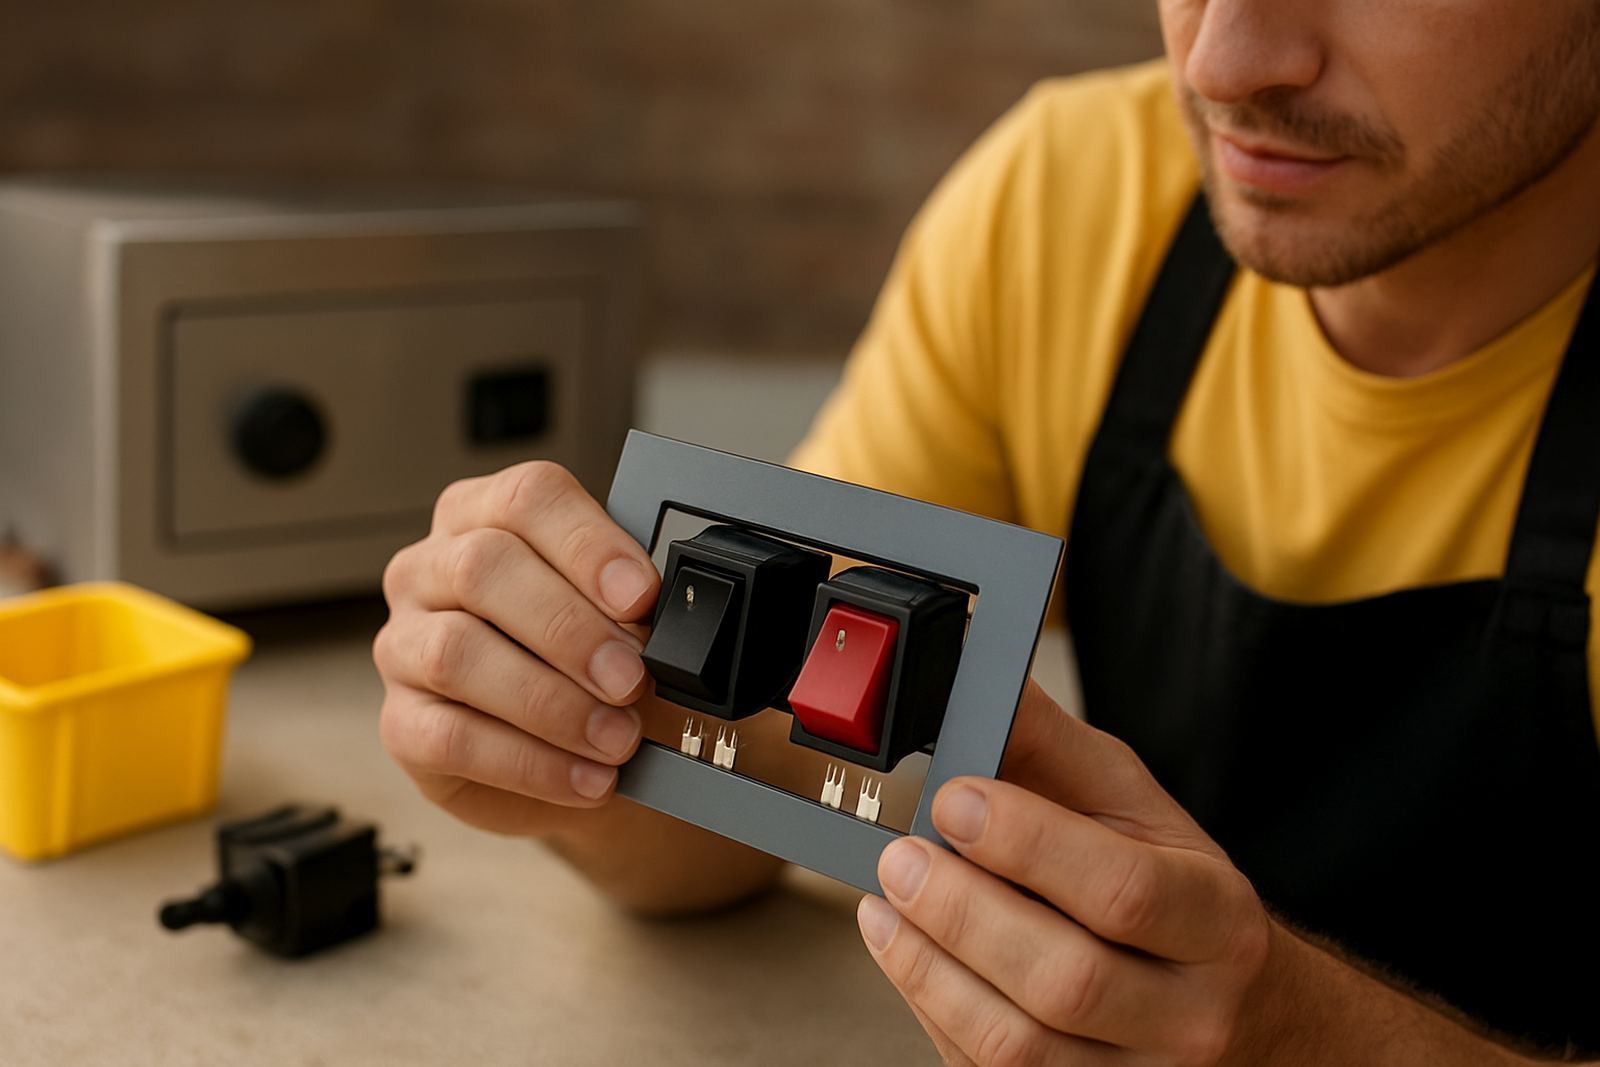
We work with kitchens that need more than a box of parts. If the pilot assembly is part of a larger fault, we can help with the surrounding components as well, including burners, switches, thermostats and gaskets. That matters when a pilot issue is linked to poor sealing, blocked burner ports, or a faulty control path.
Our team can assist with onsite parts support, part identification and post-fit testing where needed. For trade customers, that means less time guessing and more time getting equipment back into service safely. If you are not sure whether the fault is in the pilot, the gas valve, or the sensing side, send through the details and we will work it through with you.
Key facts
| Product type | Pilot assemblies for commercial gas appliances |
|---|---|
| Use | Ignition and pilot flame control on ovens, fryers, dishwashers and related equipment |
| Gas compatibility | Natural gas and LPG options available |
| Common connection sizes | 4 mm, 6 mm, 8 mm copper or equivalent compression styles |
| Mounting | Bracket-mounted, clip-mounted and appliance-specific formats |
| Service support | Part identification, compatibility checks, fitting and post-fit testing |